Ps you have to add these pictures to the gallery.
You are using an out of date browser. It may not display this or other websites correctly.
You should upgrade or use an alternative browser.
You should upgrade or use an alternative browser.
Panart: San Felipe 1:75 Scale Build Log [COMPLETED BUILD]
- Thread starter Donnie
- Start date
- Watchers 62
-
- Tags
- completed build
I honestly receive all the comments with a great deal of humility. I really appreciate it. After all - it is you all that I follow in your footsteps !!
@Pat71 the Stern Deck was already prefabricated deck just like the rest of it. This ship is about 90% lazer cut ply - it is very hard to get away from that plywood look. A lot of edges had to be painted to get rid of the plywood layered look. Some are still apparent.
I found out that believe it or not, most all of the plywood (laser cut) has a very thin sheet of paper in the middle. I really want to get on ward and do the Blandford as I have never completely scratch built anything. Well, there are some parts here that are, but not in the magnitude of real scratch building. I think the Blandford will give me a foot in the water.
- Joined
- Jul 29, 2017
- Messages
- 908
- Points
- 343

There are some problems with my kit and the wood. Lot of wood is different size or cheaper wood that is shown in manual. Wrong item numbers on building plan and the numberd parts . So have to use my own wood lots of times and puzzel to get the right parts.
Beautiful job, Donnie. Masterpiece.
Great job Donnie, a true work of art. I'm sure your Blandford will be just as nice.
Thanks again to all. Much appreciated. @Pat71 , I was looking at your SF and honestly, I still think you go the best deal. I almost purchased that kit, but that was a few years ago and not much known about ZHL. I think they rush to get these out the door. I have a photo style manual and it is almost like they are building two or three different ships !!! Ha. It is what it is.
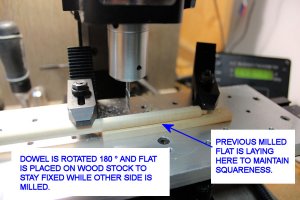
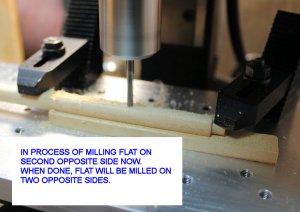
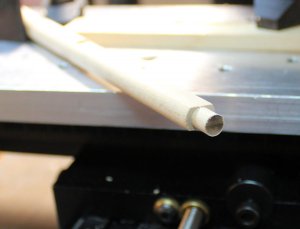
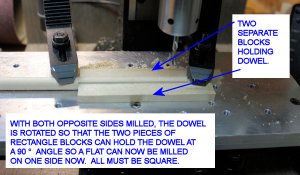
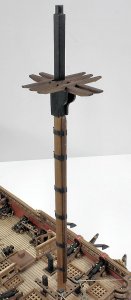
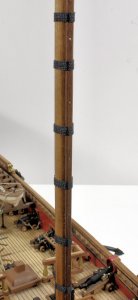
11/24/2018 Well, part of this weekend is the official day that I start with making the Foremast.
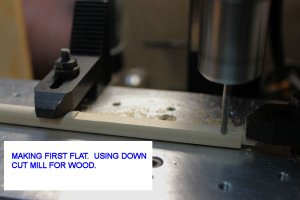
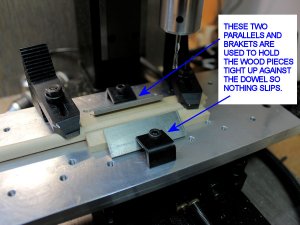
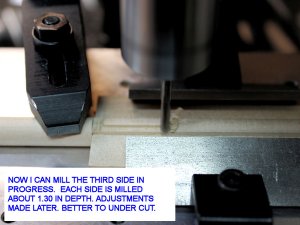
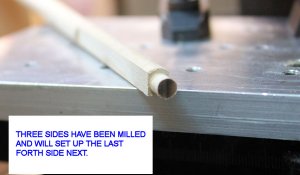
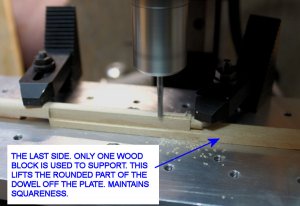
I attempted to document the steps that I took to mill the flats on the upper mast. I hope that I did not make a mistake or do something stupid.
11/24/2018 Well, part of this weekend is the official day that I start with making the Foremast.
I attempted to document the steps that I took to mill the flats on the upper mast. I hope that I did not make a mistake or do something stupid.
- Joined
- Jul 29, 2017
- Messages
- 908
- Points
- 343

Looks good m8! Pictures from manual are different from the drawings so i looked most at pictures on Internet from different brands like yours and other finished ships and make my version. Little scratch building. Use lot of my own stuff and made some castings from tin that i am gonna use. Made doors and windows and figurines so dont know yet how the finished ship willlook like. Hope comes close to your finished build. Keep up the good work!
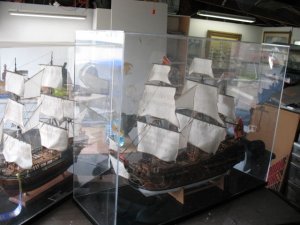
The San Felipe was a fun build, the part I seem to remember most is once the hull was planked and I sat out in the back yard and seemed to sand forever. It was a huge ship to sand. Yes lots of scratch parts used to spice up the build. Caution though\, once finished were to display it? Mine sat in it's case in the garage.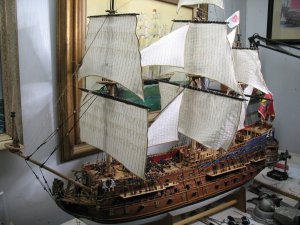
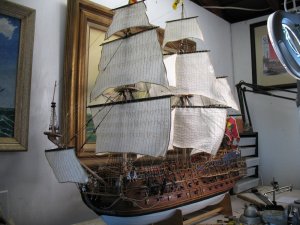
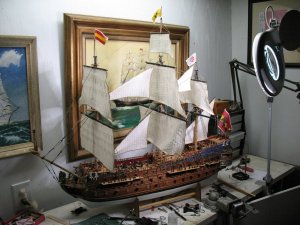


VERY nice !!!
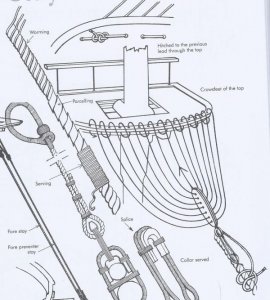
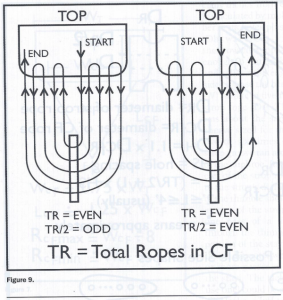
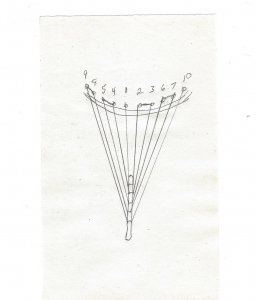
I noticed right off about your crows feet. Interesting that the manual just says to combine all those lines and serve them into one line. Humm - very tacky way of doing it Panart. So, I need to find a detail drawing of how to rig just the crows feet - I have seen (like yours) that those lines weave in and out down to some type of block that has a lot of single row holes that you weave until you terminate the final line back to the tree top.
Does anyone have any details on this ? I would appreciate it.
ps. @Dave Teel - maybe if you have time, you can shoot me a close up of just that crows feet rigging.
I hope these can help you
Donnie this is outstanding work Brother I like your use of machining tools I usually do my mast top with files by hand I will have to try using the Mill
Dave I was just looking at my instructions as it pertains to this drawing you have posted and it left my heard spinning as the info to do this isn't found in my manual So I thank you for this pictures and now it makes sense to me
Dave I was just looking at my instructions as it pertains to this drawing you have posted and it left my heard spinning as the info to do this isn't found in my manual So I thank you for this pictures and now it makes sense to me
The additional work of using the mill definately pays of. Dead straight. Fits the quality ofthe rest of your build.
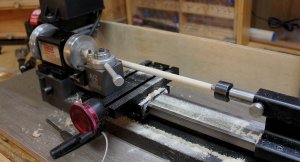
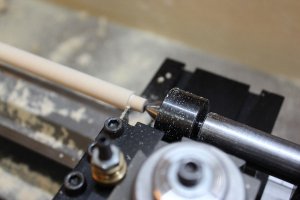
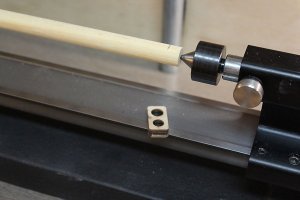
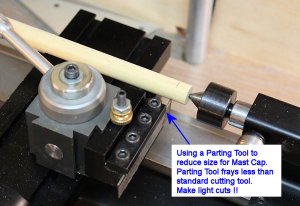
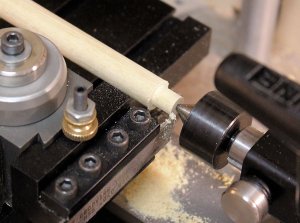
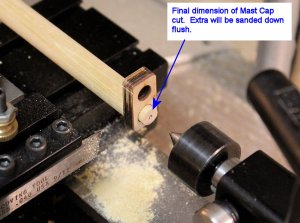
Now I am starting the work on the Main Mast. The first thing to do is mark of the Center point on one end of dowel. Thank goodness this particular dowel is really straight - amazing. The tip (right hand side of dowel) on the tail-stock will be cut down to fit the Mast Cap. I made a very short video of this.
I downloaded Shotcut - Free open source. Just a basic open and close - have not learned the program to do any fades in and out and don't even know if it can. The main thing I want to be able to do is piece videos together. So, on with the show.
I downloaded Shotcut - Free open source. Just a basic open and close - have not learned the program to do any fades in and out and don't even know if it can. The main thing I want to be able to do is piece videos together. So, on with the show.
Nicely done
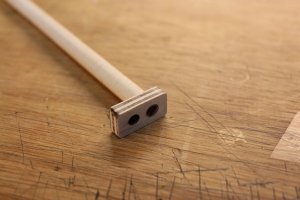
Next Video is to calculate the squared part (Mast Head) of the dowel to fit in the cross trees. The square opening of the tree is / or should be 8mm. However measurements make it slightly less (about 7.93 mm) but as long as it is square that is fine. Wood is not a perfect medium and we won't worry about precision only to about a tenth or a hundredth of a mm.
So, on with the show. I do not claim to be an expert in mast making !!!
So, on with the show. I do not claim to be an expert in mast making !!!


