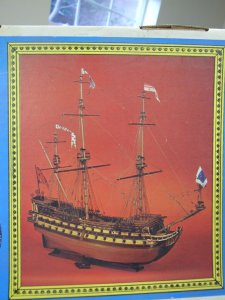
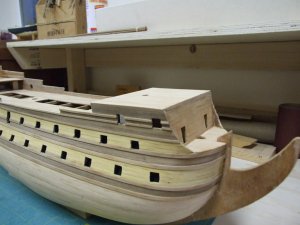
Le Mirage Corel Scale 1:75

Joined
Mar 15, 2013
Messages
186
Points
58

Location
Richmond California
Hello everyone, my name is Kent and let me give you a little bit of background before I start the tread on this build. Four years ago a friend’s Step Father died and he was a Wooden Ship Builder. My friend wasn’t interested in taking up this hobby but knew I was. He gave me several started kits of Wooden Ship models. I have never built one of these however I have worked on model railroads, Military Miniatures; I do woodworking and have built several homes. I have skills with wood and I have a lot of tools and I received a lot more from my friend. The model of the Le Mirage was my first choice to start because there was a set of English instructions in the box and it was complete. The frame had already been started and some of the first layer of planking was done. I wish I would have taken more pictures but I had not found this forum until a few days ago. I started this model about a month ago.
03.14.13 01.JPG001 Box Art (Post).JPG
 
Last edited:
Since the model didn't cost me anything, I had no fear jumping in and going at it. I wish I had better pictures up front but I didn't think of taking any until I joined this forum. Only half of the first layer of planking was done before I got it.
 
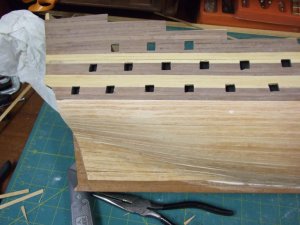
It took about 2 weeks of work to put on the second layer of planks. Most of the time was spent trying to figure out the instructions and drawings. As I spent more time with the directions I was finding this to be the funnest part of the hobby. I've always loved reading blueprints and trying to build things in my head, so I found myself reading those instructions like a good book. The kink you see in the planking next to the keel was corrected.
005 (2) (post).JPG006 (Post).JPG
 
Last edited:
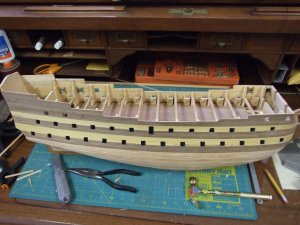
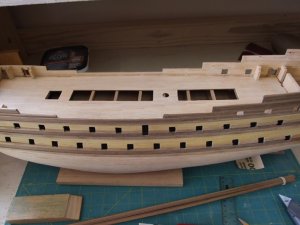
I sanded down the second layer of planks and installed the wales. I then installed the Main Deck and it's planking.Le Mirage Decking (Post).JPGMain Decking Completed (Post).JPGStarting the Main Decking Post).JPG
 
Last edited:
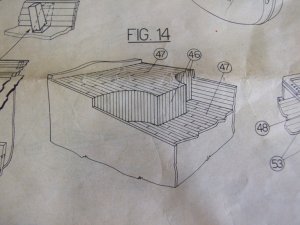
As I was building the Stern Cadtle I noticed that things didn't line up with the drawings. I had built the wall of the ship to long. As you can see in the instructions the two walls should line up. It turned out to be an easy fix. I just had to saw off some of the hull.007 (Post).JPGBuilding the Stern Castle (Post).JPGProblem solved wall complete (Post).JPGWall for Stairway to Stern Castle (Post).JPG
 
Last edited:
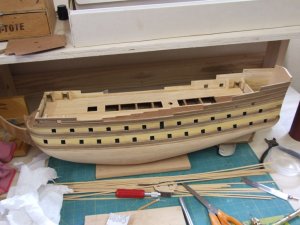
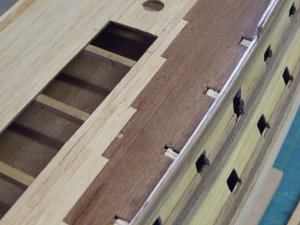
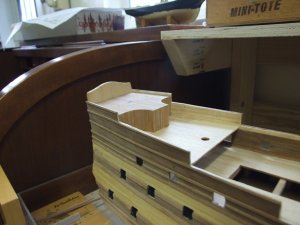
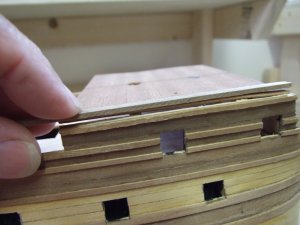
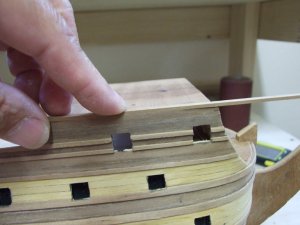
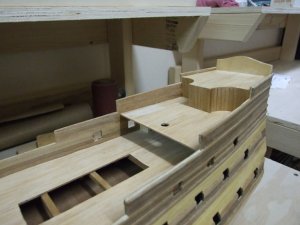
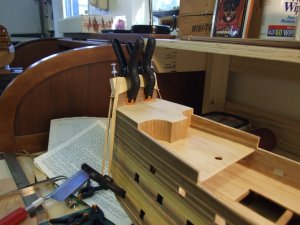
While I was starting on the Fore Castle I didn't like the way things were coming together. I had a pretty good sized gap between the hull and deck. To fix this, I scraped off the wale and the top board the second layer of planking. I glued on a new walnut plank board and I'll replace the wale after I finish the decking so I can cover the lighter wood edge of the deck.
Fore Castle Problem (Post).JPG012 (Post).JPG015 (Post).JPG
 
Last edited:
Looks like you are doing a nice job on it. Would not know it was your first ship. The hull is the most important part. Being that this is an advanced kit, it is a long and challenging project. Your railroading experience shows already in this construction project. Keep up the good work.
 
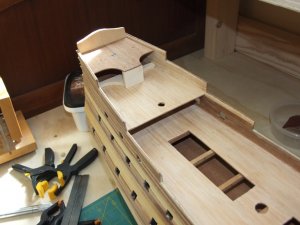
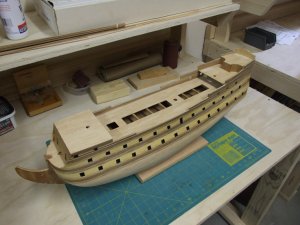
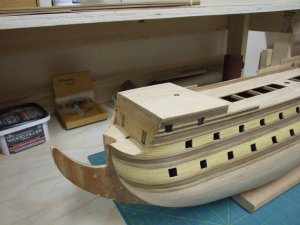
Thanks everyone for taking an intreast in my build. Today I finished all the Bulworks and the planking of the decks. Next step will be handrails.Decking and Bulworks completed 1 (Post).JPGDecking and Bulworks completed 2 Post).JPGDecking and Bulworks completed 3 (Post).JPGI like the seam (Post).JPG
 
Last edited:
Hi Kent - and welcome to SOS ! I am glad that you are here. I agree 100% with what the others are saying - its kind of hard to believe this is your first build. However, a lot of your skills that you have already are into play here. Seems like you are really catching on quickly to the building sequence and the nautical terms ... (of which I still have problems with - Oh - also, I am not the best naval historian either).

Donnie
 
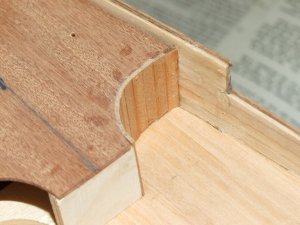
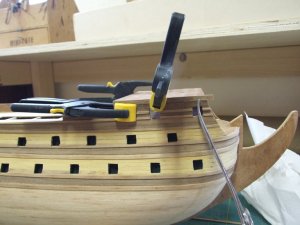
OK it's Sunday and it's time for an update. Earlier when I was looking through Sjors build of the Le Mirage I noticed that my Stern Castle didn't look anything like his. So I looked back at the drawings and did some measurements and found my Hull to high around the stern castle. Also I looked throughout the instructions and there was no call for covering the interior side of the stern. It looked like plywood and couldn't leave it like that! so I repaired the error and I made the stern more pleasing to me. Until next time here is a few pictures of whats been done.Decking and Bulworks completed 2 Post).JPGClamping Stern Post (Post).JPGCorrection on Stern (Post).JPG
 
Last edited:
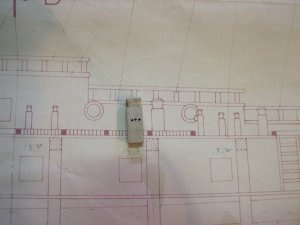
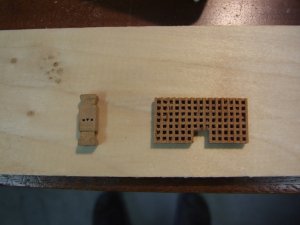
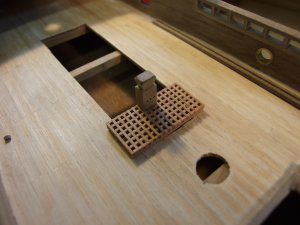
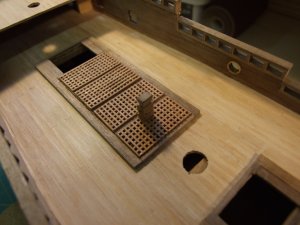
Well folks another Sunday has arrived at the shipyard and Happy Easter to everyone. It's time to post some more pictures on my progress. I've only been with this hobby for a month so far and I'm finding it more intriguing each day. I was working on the main deck grating when I noticed in the drawings a post in the middle of the grate. Well after several hours of looking at drawings and reading instructions, I finally figured out what it was and built it. This is by far the most fun I've had in modeling in a long time. Not only do you assemble the kit, you also have to make most of the parts.
03.30.13 01 (Post).JPG
The parts are shaped
03.30.13 02 (Post).JPG
and tested
03.30.13 03 (Post).JPG
Final assembley
03.31.13 02 (Post).JPG

I really liked the way that came out and it taught me to look everywhere before I decide something is done.

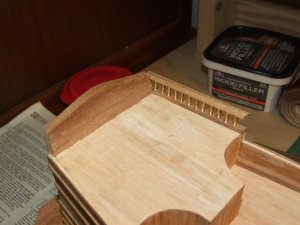
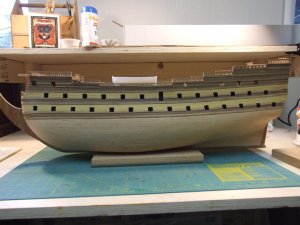
Here is my Sunday update. Most of the rails are done but I ran into a small problem with the Forecastle rail. I don't have enough brass posts to complete the two small rails to either side of the stairwells. I counted them out and I have just enough for the two rear balconies, so I'm going to have to look around or write Corel to get 12 more to finish those railings.
Almost ready for varnish
03.31.13 04 (Post).JPG
Looking aft
03.31.13 05 (Post).JPG
Looking forward with the missing railings
03.31.13 06 (Post).JPG
Next step is to cover the keel and work on the long boat. Hope I can find some time to work this week, I do have a lot of projects to get done around the house. Till then!
 
Last edited:
Looking very nice, Kent. Looks like there are a few other ships in the stable there - what are those others peeking into some of the photos?
 
The Black and gold one to the right is Revell's USS Constition, it's about 10 years old and it's my 4th try at that model. I could spend all day telling you horror stories about what happened to the other 3 tries. The other one on the top shelf on the box is one of 2 HMS Victorys. It's the smaller of the two. The other one is under the desk that the Constition is on. Several years ago I received several started models from a friend and am just now getting started on finishing them. There's another 6 up in the attic of the garage. I have enough models for years to come.
 
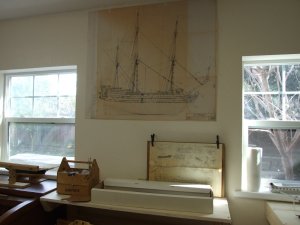
I tell you Sjors those 1 to 1 scale drawings and your posts are saving my life. If I had to relay on the instructions I'd be going nowhere real quick.
 
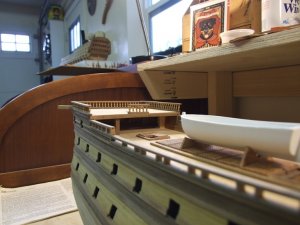
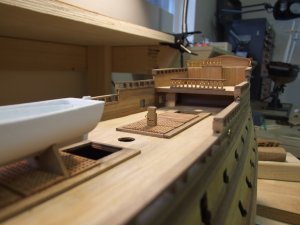
I noticed that there is a gap under the life boat cradle. You could add a piece of wood there so it would not be obvious and attract the eye. There is not much rigging that goes in this area to hide things, so I thought I would just mention it for information sake. Once it is finished and in a case, I am sure it would not show either way since you would not be able to get as close or at the same angle that you can now.
She is sure looking nice. Seems like nice wood came with the kit and the planking is sweet.
 
I see what your talking about Gary. The longboat got pushed back before I took the picture. The gap is much smaller then that when I put the boat in the right postion. Thanks for keeping an eye on me. Please feel free to tell me anytime you see something like that so I can correct it before I put it in a case. I hate missing things because I've been looking at it too much and a fresh set of eyes always sees something different.
 
As you state, always nice to have an extra set of eyes looking in on your work! I couldn't agree more, what you see yourself is not what everyone else will see, eyes are drawn to various points of perspective in any walk of life. With this site there are fewer builds to focus on that may be seen on some other sites? to me that is an advantage. If there is less to look at and read about then that leaves a little more for your mind to focus upon and ponder!
From what I see you are doing a great job :greetings-clapyellow: I am but a novice at this hobby but find it so therapeutic :roll: AND so addictive, I have only been involved in this hobby for around 3 years, but I have learned so much from other peoples work that words fail me on how to convey my thanks to everyone :text-thankyouyellow:
The build I am doing at the moment is the Sovereign of the seas, a partwork by Deagostini/Artesania Latina. I have completed a build by the same company of HMS Victory, of which I am quite content with the outcome (could be better) but as with most things experience cant be bought or taught, and that is what makes this hobby so appealling.
Without rambling too much I just wish to say, " How well your build is looking at the moment" and that I appreciate the time and commitment that everyone shows in their builds and/or comments on this forum.
Much appreciated, Steve.. :text-thankyouyellow:
 
Back
Top