There we will do itThe Forum Construction Details of Ships would be a good place to locate the stoves thread.
Mike
You are using an out of date browser. It may not display this or other websites correctly.
You should upgrade or use an alternative browser.
You should upgrade or use an alternative browser.
Brian: great job on Fubbs. Hardly amateurish!
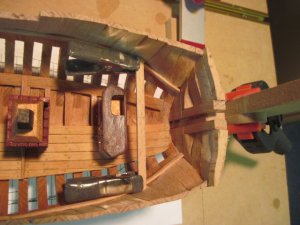
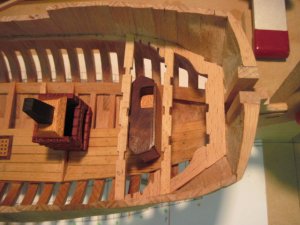
I think a thread on stoves is a great idea. I based my build of the Brodie stove on an article I saw on an HMS Fly website. I’ll be happy to post my build process.
I think a thread on stoves is a great idea. I based my build of the Brodie stove on an article I saw on an HMS Fly website. I’ll be happy to post my build process.
- Joined
- Aug 10, 2017
- Messages
- 1,646
- Points
- 538

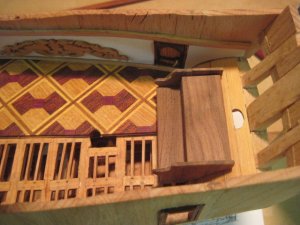
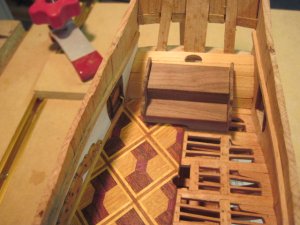
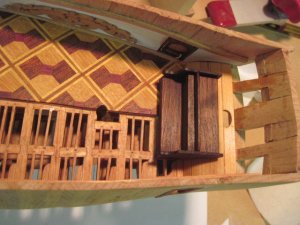
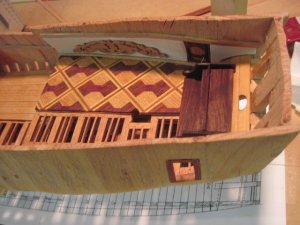
The Great Cabin:
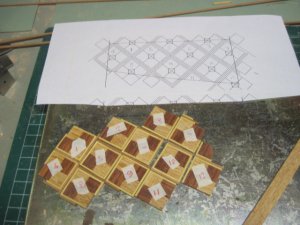
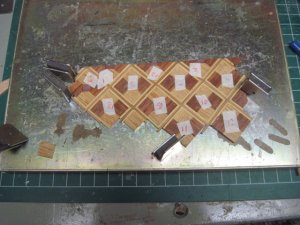
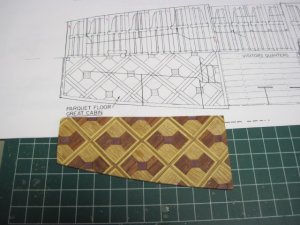
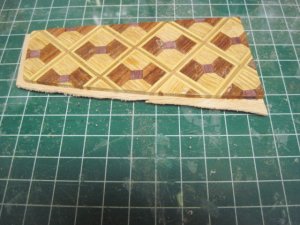
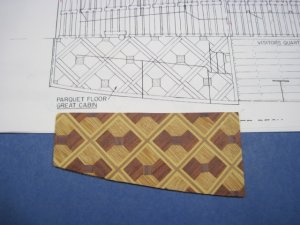
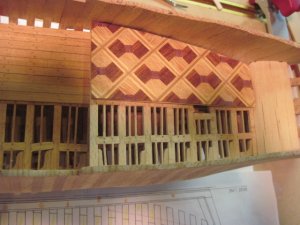
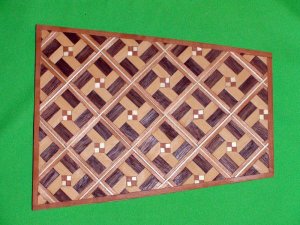
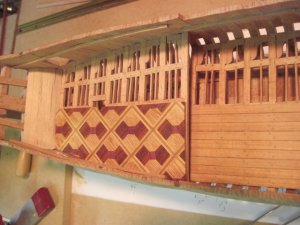
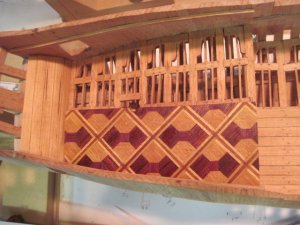
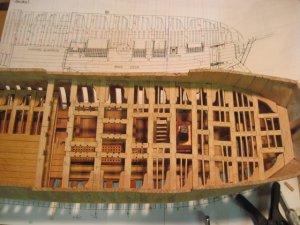
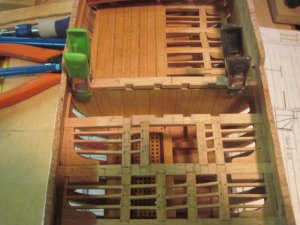
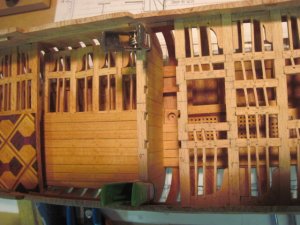
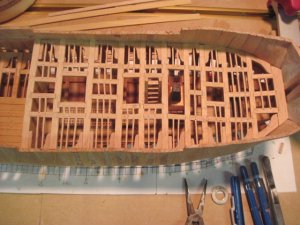
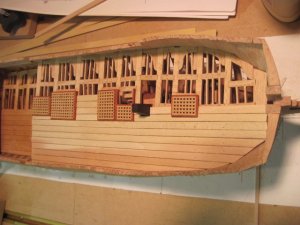
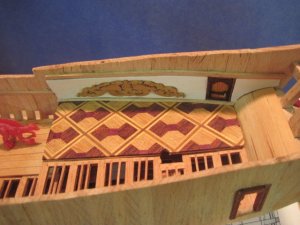
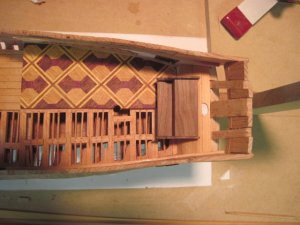
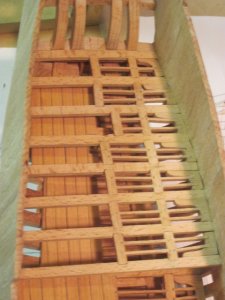
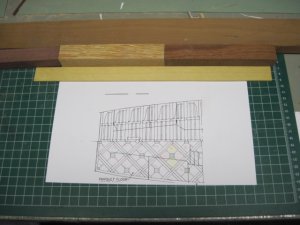
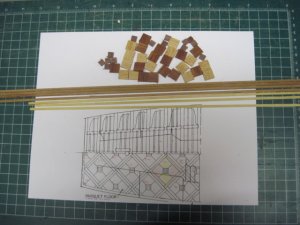
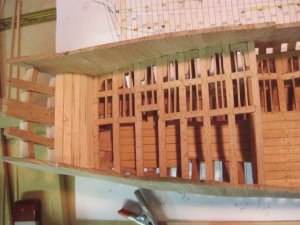
This set of photos shows the deck framing and the material for the parquet floor. I am using the same method Gene used in the practicum for the floor. Portia’s plans show the open framing on the port side and parquet flooring on the starboard side.
The woods used are cherry, purple heart, palm, rosewood and yellow heart.
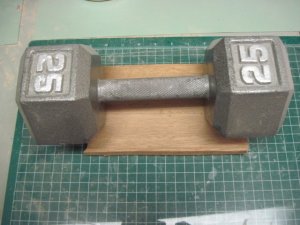
This is my first attempt at this type of flooring, big hands and small parts is not a great combination to work with but by cutting all the parts oversize and sanding them to fit. I found magnets on a steel plate very helpful aligning the pieces before grabbing the glue bottle. I numbered all the square blocks and added the dividers prior to trimming them to fit the deck.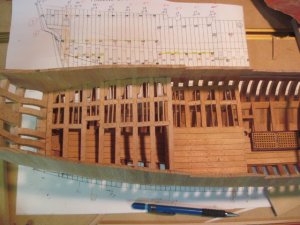


- Joined
- Aug 10, 2017
- Messages
- 1,646
- Points
- 538

Great work mike,
Did you saw these on a circle saw only? Or what was the total process to produce the same size of tiles?
Did you saw these on a circle saw only? Or what was the total process to produce the same size of tiles?
- Joined
- Aug 10, 2017
- Messages
- 1,646
- Points
- 538

Thanks Maarten,
I use pen blanks of the more expensive woods for small parts.
I rip strips slightly thicker (1/32”) than the finished floor, run the strips through a Byrnes thickness sander to remove saw marks, cut the square tiles to size on the table saw, use a Delta 1” belt sander with a fine grit belt to remove saw marks, glue the tiles together, trim to fit the floor space, glue floor to underlayment, trim underlayment remove excess glue, hand sand floor surface with 400 grit paper and install the floor. I expect things would go a lot faster with a CNC Milling Machine, but I don’t have one yet.
Mike
Hi Mike thx for the detailed explanation. Yes the small cnc machines become affordable now. For me this will be the first big step in the near future.
Really nice work, Mike! Where did you get your copy of Portia's plans?
- Joined
- Aug 10, 2017
- Messages
- 1,646
- Points
- 538

Hi Uwe,
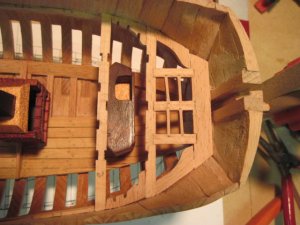
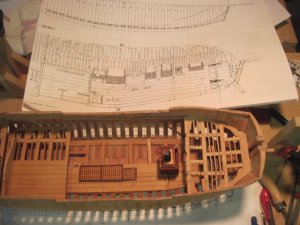
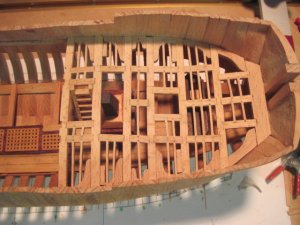
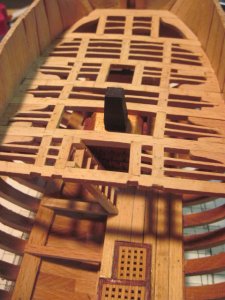
I clamped all the beams in place and marked the carling locations at each end of the hull, using a thin strip of wood the same width as the carling I marked the required notch location on each beam.
To simplify the framing for a beginner I made the carlings the same thickness as the beams. I removed the beams and rough cut the notches with a bandsaw, using a vice filed the notch the finished dimension using a carling to check the size of the notch.
The carlings are normally about half as thick as the beams and the notches would be cut in with a sharp chisel, I felt like this would be too time consuming for a beginner.
After the beams are notched they are installed with glue, when dry I cut the carlings to fit between the beams and have a beer.
Mike
- Joined
- Aug 10, 2017
- Messages
- 1,646
- Points
- 538

The Great Cabin:
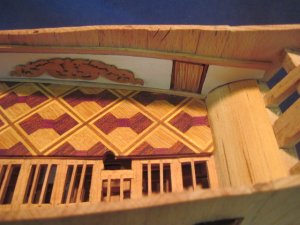
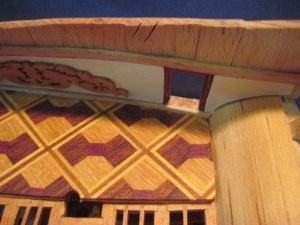
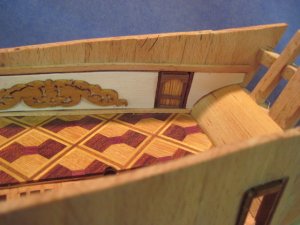
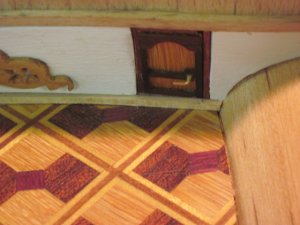
The Great Cabin has a frieze shown on the wall in the practicum and sense I am not much of a painter I decided to use a simple floral relief carving for decoration. I glued the pattern to a 1/16” thick piece of boxwood and used a Proxxon Mill to cut out the carving. I cleaned it up with hand files and sandpaper, glued it to white card stock and installed it as shown in the following photos.
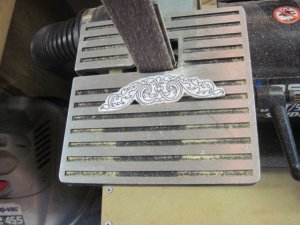
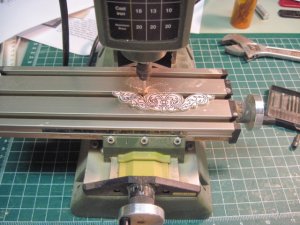
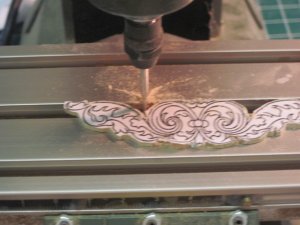
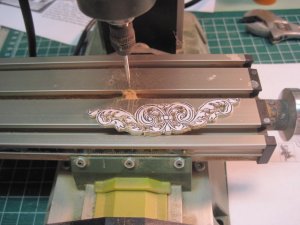
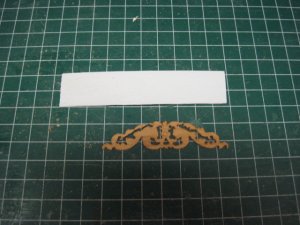
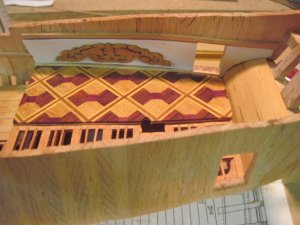
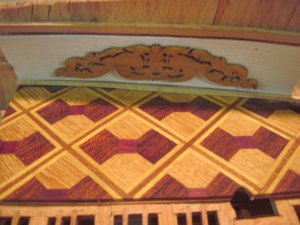
The Great Cabin has a frieze shown on the wall in the practicum and sense I am not much of a painter I decided to use a simple floral relief carving for decoration. I glued the pattern to a 1/16” thick piece of boxwood and used a Proxxon Mill to cut out the carving. I cleaned it up with hand files and sandpaper, glued it to white card stock and installed it as shown in the following photos.


Really nice work, Mike!


