Halifax Build Log: Lumberyard

Hi Don,

Good job on framing the Halifax. Looks like you're almost home free now once you add those last few cant frames. The cant frames are always the most difficult and don't feel bad, the bevels caused me a lot of confusion at first. I recall making the mistake of cutting them both the same so I'd end up with two right sides or two left sides. Had to remake some a couple of times on some scratchbuilt models. My philosophy is, hey...it's only wood so you can always make the part over again.

Take care,

Bob
 
My philosophy is, hey...it's only wood so you can always make the part over again.
bob

that is a great statement a number of model builders make the comment "I would love to build a plank on frame model, but I am afraid I will mess it up" Actually you can't mess it up because you can always remake the part over and over or take things apart and try again.

there are 2 schools of thought on cant frames.
1 cut bevels and finish the frame then install it into the hull
2 install oversized "blanks": in the hull and sand and shape the bow as a unit
 
THANKS, BOB AND DAVE, prefer to cut bevels before installing on the model but have a blank on where to start, finishing up the half frames on the other side then will post more progress pictures. Don
 
didit post_id=22523 time=1505393859 user_id=4746 said:
My philosophy is, hey...it's only wood so you can always make the part over again.
bob

that is a great statement a number of model builders make the comment "I would love to build a plank on frame model, but I am afraid I will mess it up" Actually you can't mess it up because you can always remake the part over and over or take things apart and try again.

there are 2 schools of thought on cant frames.
1 cut bevels and finish the frame then install it into the hull
2 install oversized "blanks": in the hull and sand and shape the bow as a unit

Yep, I totally agree with you Dave. It's far easier for a scratchbuilder to remake a part than someone building a kit because the kit builder has to go to a lot of trouble sometimes to get a new part. But the scratchbuilder simply picks up a new piece of wood and tries again. Of course a kit builder can do that too if he has the tools to remake the kit part but often new modelers don't have a large collection of tools for scratchbuilding.

I know from experience that lofting cant frames is not an easy task, even if you're using a CAD program. So in my early years of kit development I did what you suggested - created oversized blanks and installed them and then just faired it all out with all of the frames attached. That works just as well but it does wear your arm out with all that sanding and produces a nice pile of sawdust.

Take care,

Bob
 
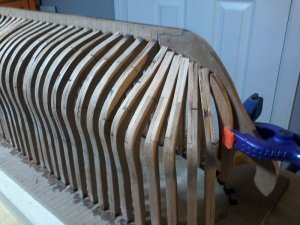
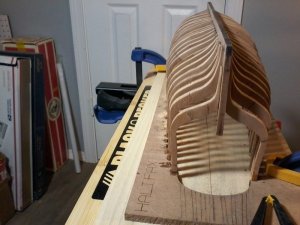
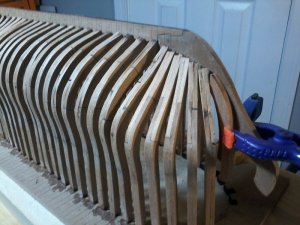
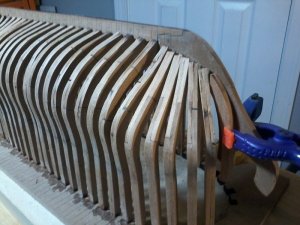
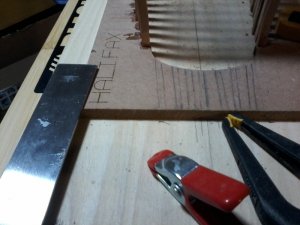
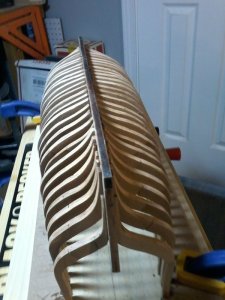
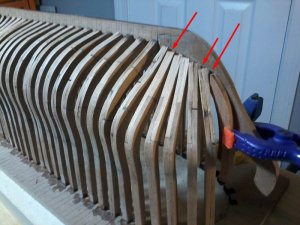
more progress pictures, going to need help on these. Dry fitted cant frames, do need help to continue, only thing I know is to trim to rabbit line, half frames complete,....more to follow.Webp.net-compress-image (10).jpgWebp.net-compress-image (9).jpg
 
Thanks Brian, It is not my first, the Caustic was my first, great learning experience in preperation for the Halifax, still have plenty to learn, some mistakes on this one, hope to be able to fix them when I do the faring of the frames, will show more progress pictures. Don,.....PS ALL CRITISISMS WELCOME ALONG WITH SUGESTIONS
 
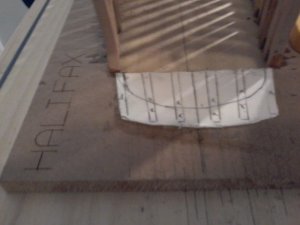
from the top view you can see some of the frames not quite right need work in the faring process to get hull to look right, also the stern framing is not correct as shown, I think I will do a tracing from the plans rubber cement to bond paper and rubbr cement to the jig, any other sugestions are more then welcome. Don
 
Need some help on the last to posts, especially the CANT FRAMES (HOW TO DO THEM) and to see if the pattern I made will work. THANKS FOR ANY COMMENTS Don
 
pasting the location of the stern timbers on the jig is a great idea. It is important to get these timbers in the right place.

As for the cant frames the hull is looking good. At this point take a small sanding block and start to shape in the bevels. Hahn was accurate when he drew the shape of the bow and stern frames so you should be able to shape the hull without to much problem. At the keel where the frames look like they step that is ok it is typical of setting up these frames. As you sand the hull the stepping will flow together
 
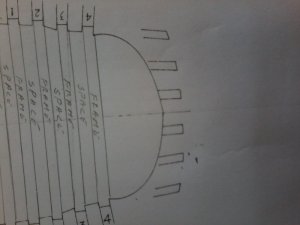
THANKS Dave, A couple of things, one the drawings on 8/22 showing the determionation of cut off from jig and SOS LOST THEM ON MY THREAD and said you shoul re post them, second it seems like there is a problem fitting cant frames 7,8,9,AND ESPECILLY frame No. 10 at the sides to get them fit properly and I am afraid of taking to much off on the sides, i understand what you said about the bevels I think, GREAT HELP HOPE I CAN MAKE MORE PROGRESS on the cant frames. THANKS AGAIN Don
 
Very nice build! I have a Lauck Street Halifax on the shelf. It is also Hahn-style with precut futtocks. Bob Hunt designed the kit with CNC cut parts, so no laser char to contend with. One day I'll get to it. In the meantime keep up the good work!

Dave
 
Thanks Dave, Just waiting for a little help in doing the cant frames, here is where I could mess up the build have done that before. THANKS Don
 
"THANKS Dave, A couple of things, one the drawings on 8/22 showing the determionation of cut off from jig and SOS LOST THEM ON MY THREAD and said you shoul re post them". Ok re posted the pictures
 
"It seems like there is a problem fitting cant frames 7,8,9,AND ESPECIALLY frame No. 10 at the sides to get them fit properly and I am afraid of taking to much off on the sides"

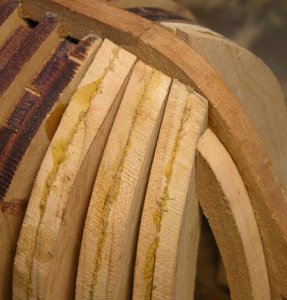
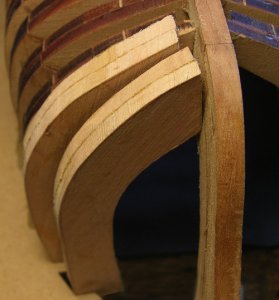
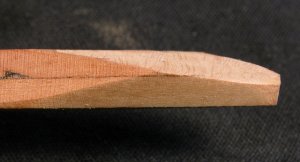
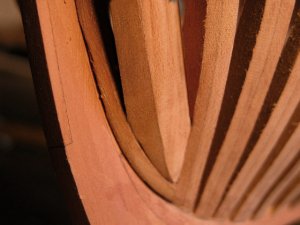
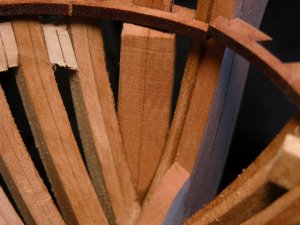
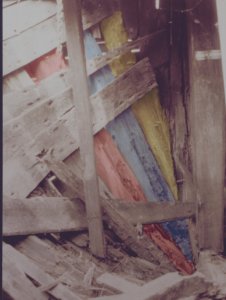
your not alone with these bow timbers they are difficult to draw, difficult to shape and difficult to fit. Looking at this image it is the miss fit against the deadwood that is a problem area. The first thing to fit is the foot of the frames against the deadwood. The frames start off as a misfit and you have to fuss with them to get a tight fit. The first bevel to cut is so the frames will sit at an angle to the deadwood. Cant frame number 10 at the foot where it fits against the deadwood is shaped like a wedge. looking from the outside, looking from the inside, looking at actual bow timbers on a wreck you can see how they are wedged together.
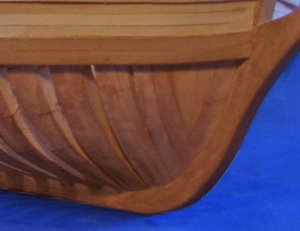
This model shows the bow timbers all fitting tight and shaped to fit. It looks good now but that took 3 tries and a number of test pieces before getting it right
What you have so far is actually acceptable, odds of ship carpenters getting an exact fit in real ship building is iffy. so you are good to go. Now if you want to mess with what you have you can rip out all the bow timbers and keep trying but I would not do that myself. BUT what I would do is add the garboard plank along the bottom. I like this type of model because the garboard plank has nice curves and a sweep at the bow and stern. This gives the hull a shape.Webp_net-compress-image%20(14).jpgN005a4.jpgblank B9995.jpgdeadangle.jpghawse5.jpghawse6.jpghawse7.jpgA24B.jpg0312.jpg
 
Back
Top