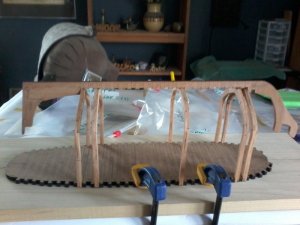
You are using an out of date browser. It may not display this or other websites correctly.
You should upgrade or use an alternative browser.
You should upgrade or use an alternative browser.
Halifax Build Log: Lumberyard
- Thread starter donfarr
- Start date
- Watchers 14
-
- Tags
- halifax lumberyard
Looking good Don!
I know this is a slow process,you are doing a good job.
Thanks Winston and Zoltan, so far so good in building frames, still having doubts about cant frame as I have shown on the stem deadwood. THANKS Don
A
Aussie048
Guest
Looks good to me Don but you are the captain.
Cheers
Geoff
Cheers
Geoff
Thanks Geoff, waiting to here from Dave at lumberyard for his coments, he was inactive for a while due to health issues but is back posting, THANKS AGAIN DON
Coming along nicely Don I kinda like the way Hahn did the little notch guide thing but man that's a lot of teeny notches to cut and hope ya get them exact lol sounds like a laser cut thing hehehe
Hi Joseph, THe Jig is part Dave kit, laser cut, COULD NEVER DO THAT WORK acuratly enough even in better times surly not at 79 years old, BRAIN, HAND,EYE cordination not the same as once was, would really not buy a POF semi kit without this type of jig, have tried it for me impossible, maybe others wit more skills can do it but NOT ME. THANKS FOR YOU COMENTS DON
- Joined
- Dec 1, 2016
- Messages
- 5,126
- Points
- 728

I had to take my main computer work station off line because it seems to have been downloading stuff behind my back and then the computer gets all mucked up. so now I have a dedicated laptop just for on line use. When it gets mucked up I can just nuke it and start again.
ok you asked me questions about how to measure and install bow cant frames. For most model ship builders the bows and sterns are a scary part of the build. To make matters even more difficult bows were constructed different in different yards, countries and periods. The way Hahn built his bows were typical for North America and the time period. The British ship yards over in England built bows differently.
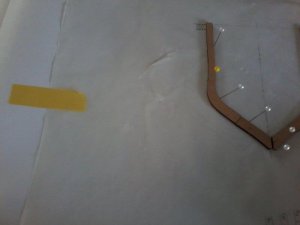
lets check out some bow details and the first is the rabbit line you can see it running along the stem and it is where the hull planking sets into. Now some builders include a rabbit some builders don't, personally I consider the rabbit as part of planking so if I am building a framed model I do not cut one.
When building from a Hahn plan he was very accurate in his drawings so there is no need to measure anything. The cant frames will automaticly fall right in place. on the sheet of frame drawings looking at cant frame 5 the red arrows show the distance from the base of the jig to the rabbit
looking at the cant frame in place you can see the same dimensions. Here the two red arrows are the same locations in the drawings, the blue arrow is pointing to the rabbit and the lower blue arrow is showing the exact location of the top of the extension. if you make your cant frame to match the plan it will fall right in place.
Thanks So much Dave I was pretty sure I had the cant frames wrong on the deadwood, as I think I gather what you are saying is once the cant frames are in position on the jig it will fall into the right place on the deadwood,...... I will have all of the WHOLE FRAMES DO BY TOMMORROW NIGHT THEN will post pictures showing some frames DRY FITTED INTO THE KEEL SECTION, .... one other thing Dave is the stern half frames have i got them right. THANKS FOR ALL THE HELP AS USUAL WILL TRY TO KEEP QUESTIONS TO A MINIUM THIS TIME. DON
- Joined
- Dec 1, 2016
- Messages
- 5,126
- Points
- 728

very good work don. Now as I pointed out when you set that frame into the jig the foot should rest against the deadwood pretty darn close to where it should be. Keep inmind when the laser cut the frame parts it cut on an offset that is it cut a little bit bigger than the finished size. So when you set the frame in the foot may extend beyond the rabbit line. When you sand the hull that is when everything will fall into place.
A
Aussie048
Guest
Don
Looking good and getting some excellent advice.
Cheers
Geoff
Looking good and getting some excellent advice.
Cheers
Geoff
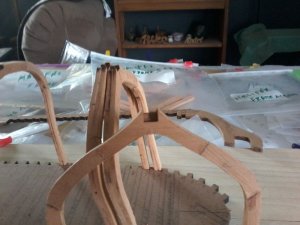
more pictures. Looking down on Frames from Keel, may need to make adjustments deeping jig notch to line up on center. Frames V,T,J,C,B, and A...notice frame No. a when put on keel the other frames not not sit in keel. This is the reason, if I get rid of this notch the A FRAME will sit beyond the rabbitt to deep, should I just take off enough to seat Frame No. A so it sits in the keel notch.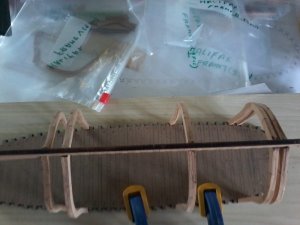
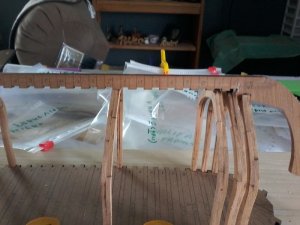


A
Aussie048
Guest
Don
I've just been checking the build. Nice going. Looks like you are heading in the right direction
I will leave it to the experts to give advice.
Cheers
Geoff
I've just been checking the build. Nice going. Looks like you are heading in the right direction
I will leave it to the experts to give advice.
Cheers
Geoff
- Joined
- Dec 1, 2016
- Messages
- 5,126
- Points
- 728

I see why you are having trouble fitting the frames to the jig
the red dots show the location where the frames go
in this photo is the inside of the jig the red dots show the location of where the frames go BUT the notches are now the opposite
actually the frames go where the red dots are BUT the notches are reversed
take a look at the proper set up in the jig using the outer part not the inner part of the jig
you are trying to place the frames in the spaces between the frames in the jig
Attachments
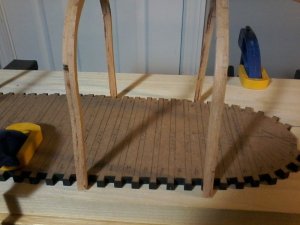
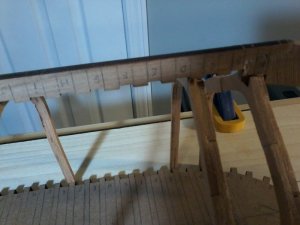
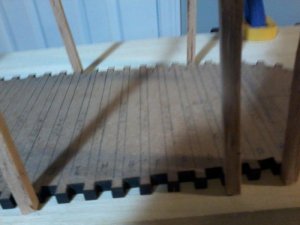
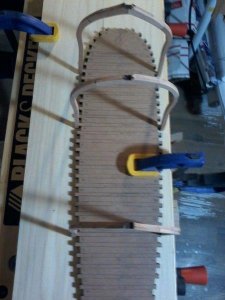
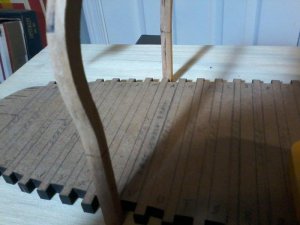
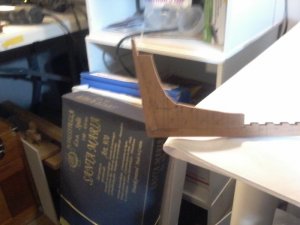
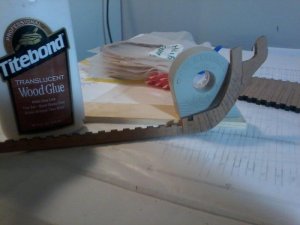
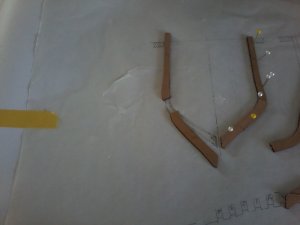
Dave a little confused as always so I understand, I took some pictures, from what you show of the keel placement the frame fit into the deeper notches(for clarification I will call deeper notches and larger notches) if my understanding is correct the Frames fit the jig in the larger notche an on the Keel the shorter notches, have pictures, TELL ME IF I AM CORRECT SO I CAN START PUTTING FRAMES IN THE JIG. Showing Frame V movedone spce to left. Frame C one space to left, where I have jig marked space should be marked Frame. Top view showing Frames to Keel. Frames C and J one space to left. Showing Frames Nos. A and C shifted to high notch THIS DOES NOT LOOK RIGHT still NOT SURE OF FRAME No A how it fits.