H.M.S Enterprise plank on frame CAF Models 1/48.

And I guess the keel lays flat on the board, so no mismeasurement for the height for example fitting the ports could happen. Your board is looking realy good.
Did you Marl already the right angle to your keel, f.e. Marking the main span, or will you put the half breadth plan (or what is with the kit) down to the board?
 
Hi Zoly and Uwe,
I still have some sanding to do on the hull, and my next project is making the rudder assembly.

I am still studying the plans, but the next phase looks like positioning the wales and gunports which will be mesuring off the plan and carefully marking out. I also have to consider fitting the deck beams next.
 
Hello gentlemen,
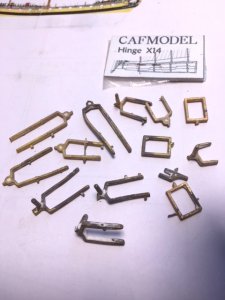
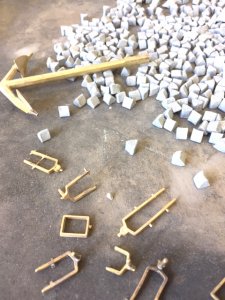
I felt like a bit of a diversion from sanding and filing frames, so I opened up the box containing the metal casting set and thought I might clean them up a bit.

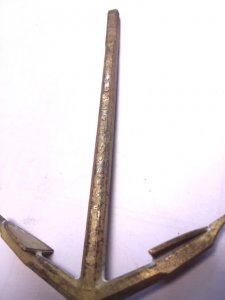
The first photo is the anchor and although its not a very clear image, there is a cast engraving on the side saying " H.M.S Enterprise 1771".

.IMG_0110.JPG
 
I don't think that would be truly accurate on the real ship, rather the kit manufacturer has done this for decoration, so I removed it with a file.

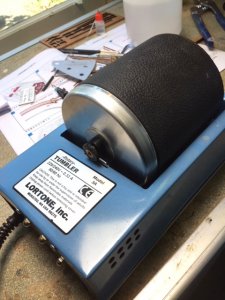
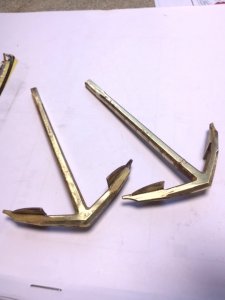
I subsequently cleaned up the anchor with a file and was delighted to find its solid cast brass, not that horrible white cast metal thats used in most kits, then put them in my tumbler for an hour.

.IMG_0108.JPG
 
Brian.
this is really incredible workmanship. Very nice. I wish this kit was on my workbench now - I have to save my pennies for this one !
 
Hallo Brian, which material you have in addition inside your tumbler to clean up the brass elements?
The parts from caf are looking very good....
 
Last edited:
Hi Brian,

Good idea the tumbler, saves a lot of work with copper brushes etc. Are you going to burnish these?

Regs Maarten
 
Hi Gents,
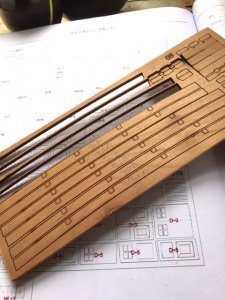
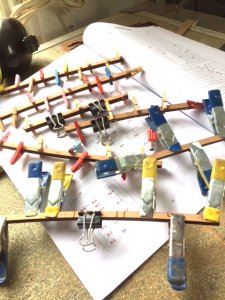
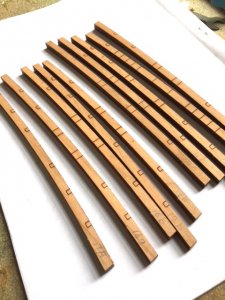
been working on the deck beams this week. They are laser cut with a slight curve, and consist of two pairs of timber that need to be laminated together. Photos below show the last cut cherry deck beams getting removed from sheet, the next photo is being glued together in a production run, and the final photo is the finished beams.

.IMG_0121.JPG
 
I need to get my milling machine cranked up to cut the slots out of the deck beams. They are marked with black lines on the beams and I need to remove 2 mm from them.
 
G'day Brian
Looking great mate! Aren't the rebates in the been laser cut or is it only marked with a slight burn?
Havagooday mate
Greg
P.s. don't bother in replying. While I was asking the question, you answered my question.:cool::D
 
Great looking parts.... i am realy step by step more positive surprised about the quality of these kits.... looking forward to get mine....
 
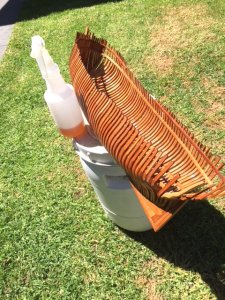
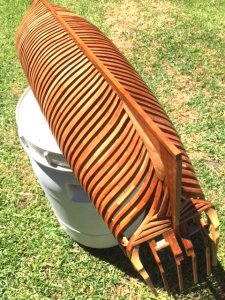
Finished sanding the frames and thought I would give everything a coat of wipe on satin poly to seal the timber. I prefer the oil based one myself as it penetrates the pores of the timber and gives a richer look to the wood.

I started brushing each individual frame with the poly varnish, then realised this will take hours. Thought I would experiment and grabbed a cheap plastic garden sprayer bottle and poured some wipe on poly into the bottle undiluted and it worked wonderfully well.

.IMG_0138.JPGIMG_0139.JPG
 
Back
Top