Constellation, the sloop of war c.1856 in 1:36 scale for R/C sailing

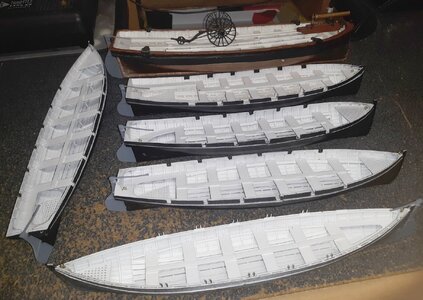
All the boats got lifting-eyes and the launch and 1st cutter got gudgeons for their rudders. I've got some little cleats from old plastic kits, and tiny brass belaying pins, to detail the boats a little more, plus putting rings on all those eyes. There's oar bundles and their furled-up sailing rigs to make yet. When/if it gets a little warm again, I'll take the air-brush to them and give them proper paint jobs.

con20240117b.jpg
 
These boats are looking very good - very good work
 
Getting some paint on her was quite the transformation. She certainly didn't look like a log any longer. I used some generic spray enamel paints and did just a quickie paint job. The bottom was Krylon metallic copper which I was going to weather a bit, but the more I thought, the more I wan't to copper the bottom.
View attachment 35885View attachment 35886View attachment 35887View attachment 35888

I found a place online that sold metal tapes for electrical use much cheaper than modeling suppliers charged. It's meant for outdoor use and is uncoated, It was also wider tape that's hard to find with modeling suppliers who don't deal in large scale stuff so much, if at all. It's peel-and-stick which seemed easier than trying to glue each piece. I bought three rolls figuring it would take about 2-1/2 to cover the bottom. As soon as I got it I put some on a block of wood and on a sheet of card and left it outside in the yard to "age." If you live in a country with copper coins, you've seen how copper ages. A ship's copper bottom does NOT turn green (except for sea grass) unless it's been pulled out of the water and sitting long enough to oxidize. I'm building the ship as she appeared when about 2 years old, and her copper still looked like copper in the portrait of her at Naples, not shiny and new, but not brown yet either. I figured to let the copper brown a bit naturally, then halt the process with a couple of coats of clear-coat spray.

I made a pattern from a bit of sheet aluminum, including the dings for the nails. I soon had something of an assembly line making up the zillions of these plates
View attachment 35893View attachment 35889View attachment 35896View attachment 35894View attachment 35895View attachment 35890

Copper on ships bottoms was nailed on with counter-sunk, flat-head, copper nails into holes pre-punched in the copper sheets. I don't know why suppliers that make "plates" for coppering a model insist that they show round headed rivet like bumps. All you should see are little circles with the slightest shoulder where each nail head is. That's the appearance I was going for here. When pressed onto the hull, the dent made with the pattern gets pushed out again and looks like a little circle.
View attachment 35891View attachment 35897View attachment 35892View attachment 35898View attachment 35899
AWESOME!!!!
 
All the boats got lifting-eyes and the launch and 1st cutter got gudgeons for their rudders. I've got some little cleats from old plastic kits, and tiny brass belaying pins, to detail the boats a little more, plus putting rings on all those eyes. There's oar bundles and their furled-up sailing rigs to make yet. When/if it gets a little warm again, I'll take the air-brush to them and give them proper paint jobs.

View attachment 421910
What lovely, lovely work, Jerry! A build that began 25 years ago, if I'm reading your log right. You really have grit! Love it!
 
I've become an arms dealer recently, a purveyor of naval artillery.
That should show if the NSA is watching my online antics

I'm not gonna gum up this thread with all of it, but here's a brief summary to get everyone up to speed...

The Gavel, who chimed in in the post just before this, is building a kit of the Harriett Lane in 1:96 scale. Always interested in ships of the period, I went to check out his build log. At the time there was some discussion in it about the ship's armament and I stuck my nose into it. Long story short, I made 3D models and printed them in 1:96 scale, sending them to Chuck for his model.
In the process, two of the guns I made were also carried by the Constellation in her later career; the 9 inch Dahlgren, and the 30# Parrott rifle on a pivot carriage; and I started thinking about making a model of every gun Constellation carried as a display piece to go with her when I took the model to events.
There were 11 types of gun carried by Constellation over her career:
  • 10 inch shell-gun pivot
  • 8 inch shell-gun
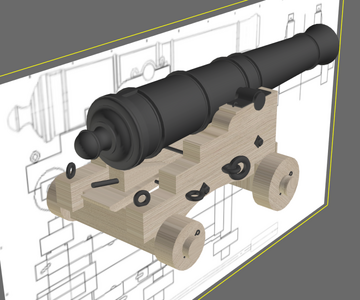
  • 32# gun
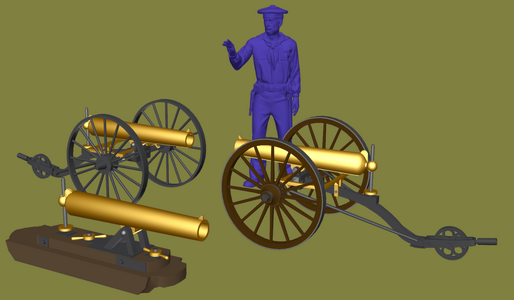
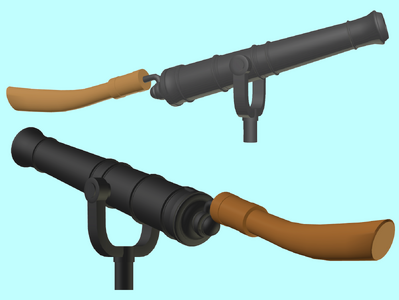
  • 12# Dahlgren boat-howitzer
  • 20# Parrott rife pivot
  • 30# Parrott rifle pivot
  • IX inch Dahlgren
  • XI inch Dahlgren on an iron pivot
  • 100# Parrott pivot
  • 24# long gun ~ these last two are a product of her misidentification as a frigate.
  • 32# carronade
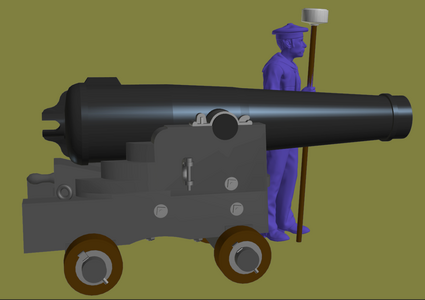
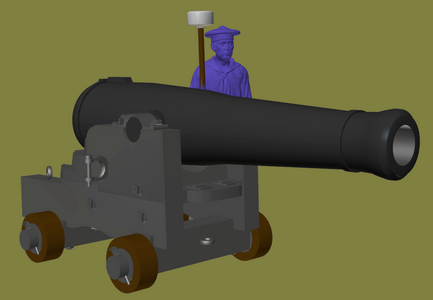
Of this list, and as of this post, I've 3D modeled 8 of them. The one not shown here, is the carronade, which has been modeled for my Macedonian model...
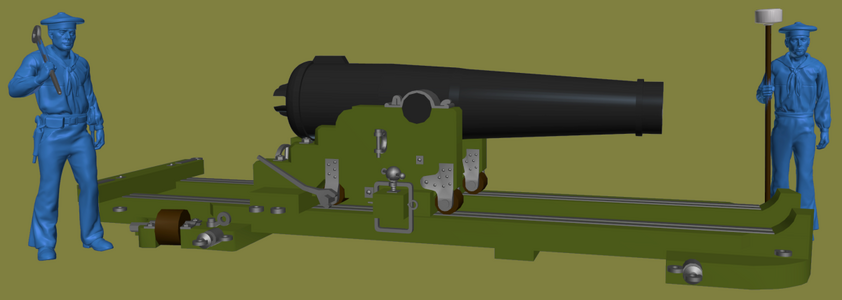
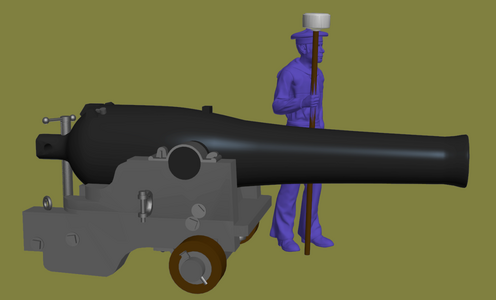
10inch_pivot 8inch shell gun 32pounder_gun
30# Parrott pivot 100# Parrott pivot
IX Dahlgren 12# boat howitzer

...and printed 4 of the list so far.
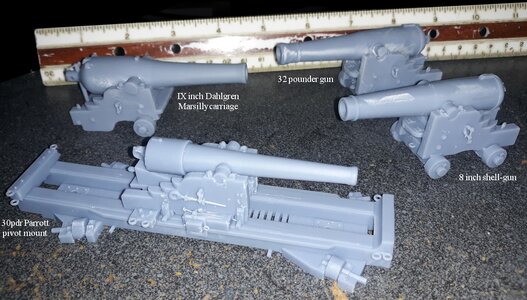
20240308_111905.jpg

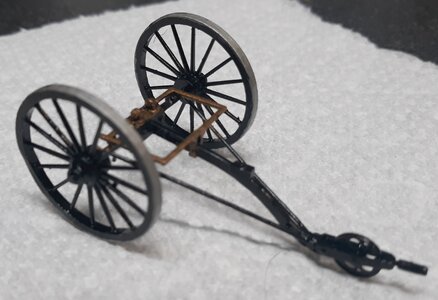
I've got to print a set of guns for another model in 1:72 scale, all of which are 3D modeled already, but yet to be printed. One of this set is a pair of 12# boat-howitzers. I tweaked the model I made back in 2020, so it'll better scale down to 1:72, and was thinking that Constellation more likely had the wooden wheel version in 1856 than the iron wheeled one I gave her; so I made a set of wooden wheels along with some added details and corrections.
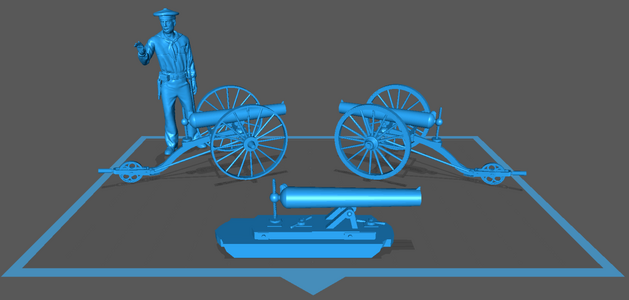
boat_howitzer_slicer.png
I printed just the field carriage with wooden wheels attached to replace the iron wheeled one in Constellation's launch. Next is getting two of them to print in 1:72 scale.
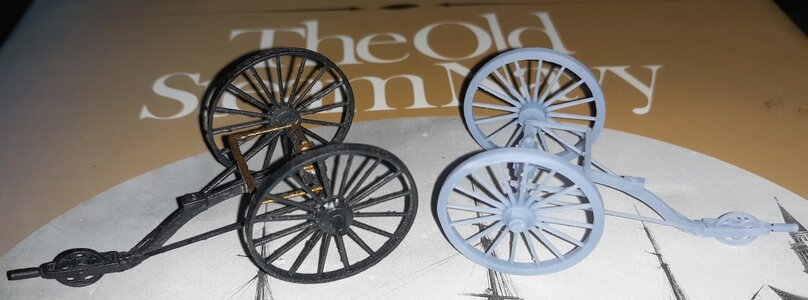
20240316_060102.jpg

It seems this project to make a sampler of Constellation's guns has become a project to 3D model most, if not all, Naval guns from the 1850s to 1870s.
I'm not posting all that in this thread, so you'll have to visit my web site if you want to see the other guns that won't be shown here.
 
Last edited:
Making the 3D models of Naval guns, as mentioned; I recently made a 60# Parrott rifle on a pivot carriage; which is what's said to have been the aft pivot gun on the Cumberland during her fight with the ironclad Virginia. Cumberland was originally armed with two 10 inch shell-guns as pivots, but after escaping from the burning of Gosport Navy Yard, she went to Boston (or Portsmouth NH) for repairs and her aft pivot was replaced with the Parrott. This rifled gun was Buchanan's reason for initially targeting the Cumberland.
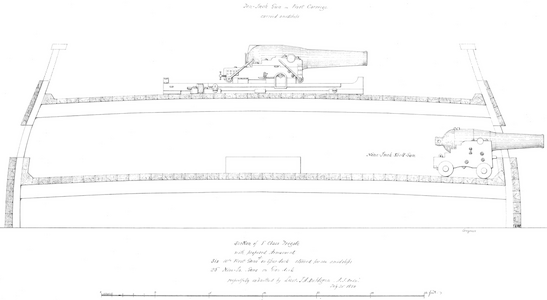
In my now never-ending search for data on any and all Naval guns from the 1850s through the 1870s with the intent to 3D model them, I found a drawing by Dahlgren himself, dated July 31 1850; proposing his idea for arming frigates with shell-guns, suggesting 6 10 inch pivot guns on the spar-deck and 26 9 inch guns on the gun-deck. The Navy decided on two 10 inch pivots on the spar-deck, and 8 inch shell-guns and 32# shot guns on the gun-deck.
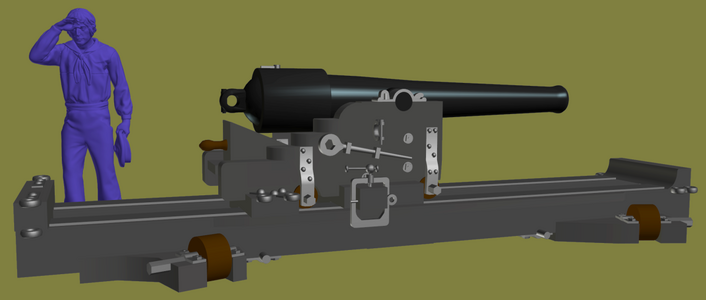
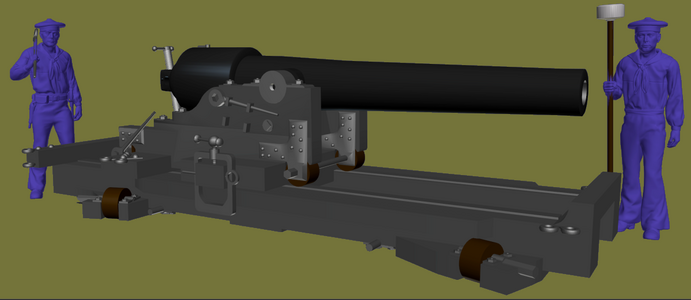
dahlgrens_1850_proposal.png x_dahlgren_pivot.png
Things would change by the Civil War, but modeling this gun got me thinking about Constellation's spar-deck pivots.
She was armed with two "10 inch guns on pivot carriages."
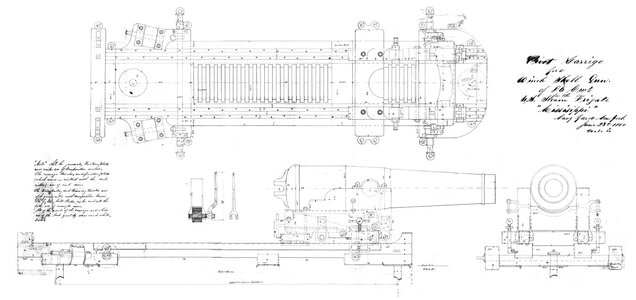
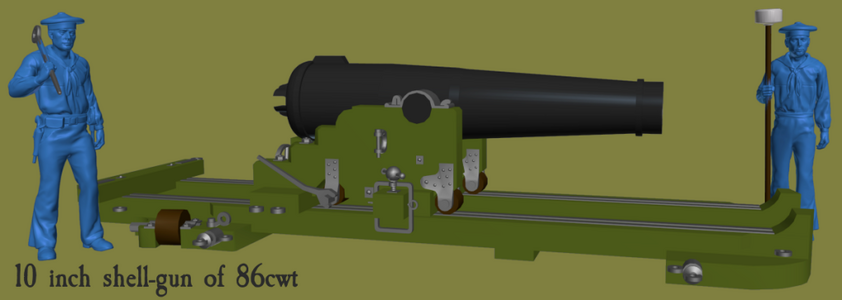
The restoration folks presumed that these guns were the same as the Mississippi plan, dated June 23 1855, which shows a 10" gun of 86cwt (8600 pounds), and that Constellation got the same thing because they looked for a 10" pivot gun at the Archives, and that's the plan they found.
10inchpivot.jpg
Constellation was launched on August 26 1854, and commissioned on July 28 1855. Dahlgren's drawing, on-the-other-hand, is from July 31 1850, 5 years prior, and refers to the pivot gun simply as a "10 inch gun on pivot carriage."
Furthermore, a 10 inch Dahlgren tube weighed 12,000 pounds, 3,400 pounds more than the Mississippi gun. When Constellation was leaving for the African Station on July 15 1859, her captain felt the pivot guns we too heavy too high, and made the ship "crank," so had them taken off. I can't help but think that would be a concern regarding a pair of 12,000 pound guns over a pair of 8,600 pound guns.
I'm trying to find out where any records regarding what guns were issued to what ships would be, and how I can access them, but I'm personally leaning toward replacing the pivot guns on the model with 10 inch Dahlgren pivots.
10" shell-gun of 86cwt
10inch_pivot.png
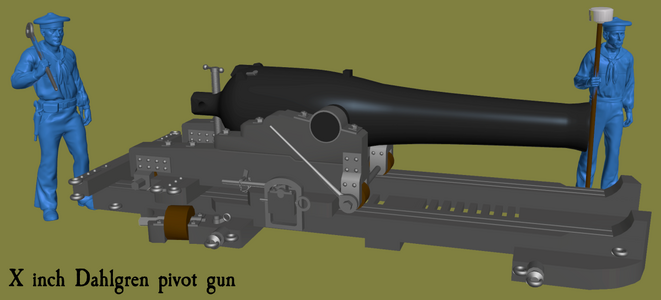
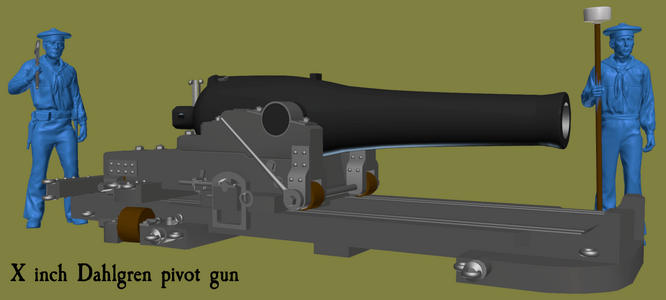
10" shell-gun of 12cwt (Dahlgren)
x_dahlgren_pivot.png
Which 10" pivot guns did Constellation have?
10inch_pivots.png
 
Last edited:
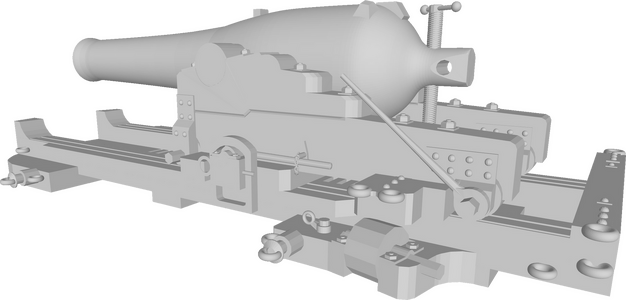
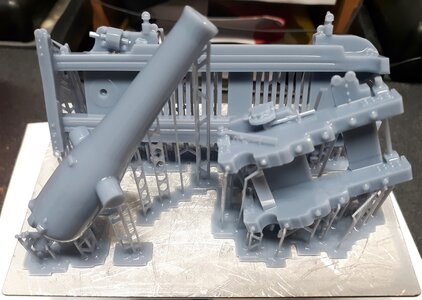
I finished the 10 inch Dahlgren pivot, several times. I kept finding "holes" where a face was left out, or facing the wrong way.
I didn't model the gun's breech as it was in Dahlgren's drawing. It looked to me like he left the breech of the Columbiad from the Traverse Carriage drawing and made the rest of the tube look like his 10" gun. I know Rodman guns were made with that sort of breech, but there weren't any Rodman guns in 1850, and I can't find drawings of any Dahlgren like that. Dahlgren's patent drawings don't show that sort of breech either. So I stuck an elevating screw on it, like they had during the war.
x_dahlgren_pivot.png x_dahlgren_pivot_stl.png
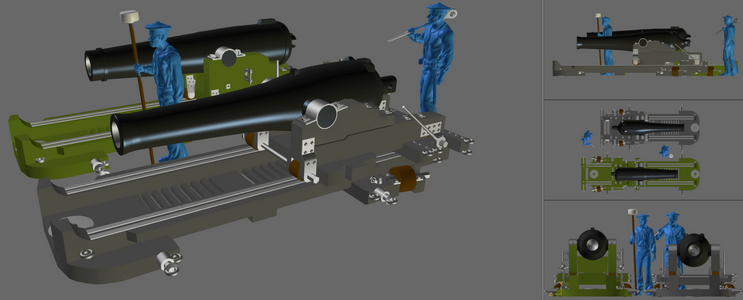
The slide, while just like the one in the Mississippi plan, is shorter and wider; this will mean reworking the deck tracks on Constellation; but It also means it'll fits the space better, with more room for moving the gun about, as well as fitting on my hatches better.
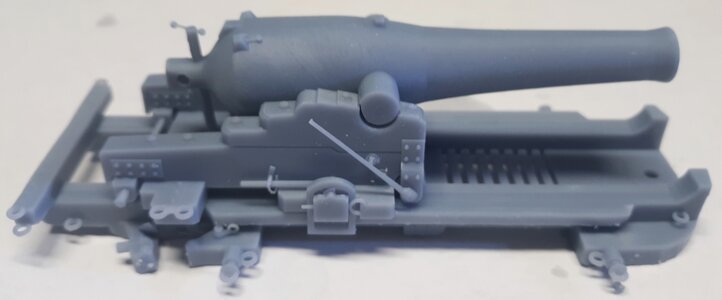
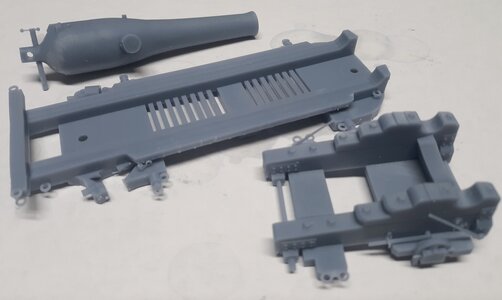
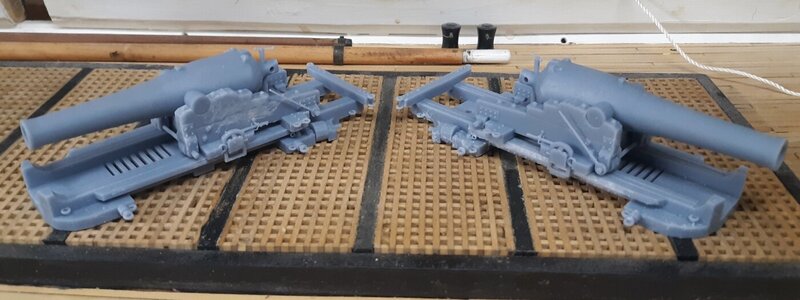
dahlgren_x_pivot_print1.jpg dahlgren_x_pivot_print4.jpg
It printed great in 1:36 scale, except a roller on the slide didn't come out. I'll replace that and rebuild the pallet around it, and it'll be fine. The second gun is still printing as I post this, so we'll see how it does. (I actually have to print a third copy since this is on my list of Constellation's Guns.)
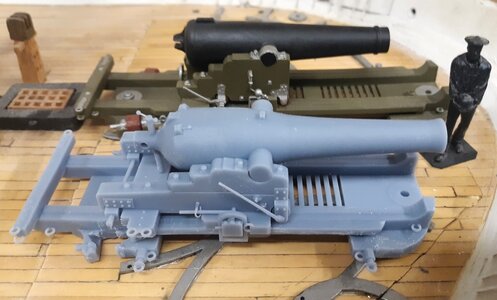
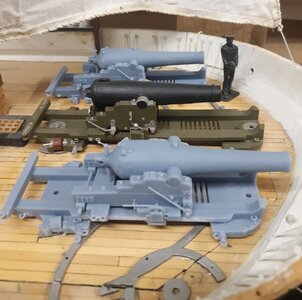
Here's the X inch Dahlgren beside the 10" shell-gun it will replace.
dahlgren_x_pivot_print5.jpg
 
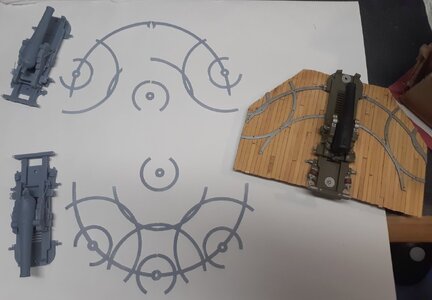
The slide on these guns is shorter than that on the previous pivot gun, so I had to remodel the deck tracks. You can see in the reference image of the deck, the old hand-made pivot slides image sticking out past that back of the new guns.
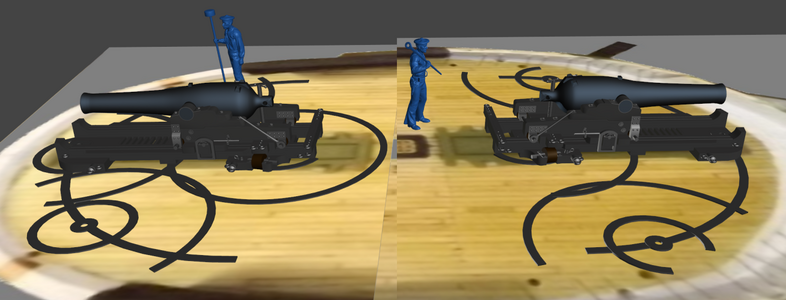
3D modeling new_tracks
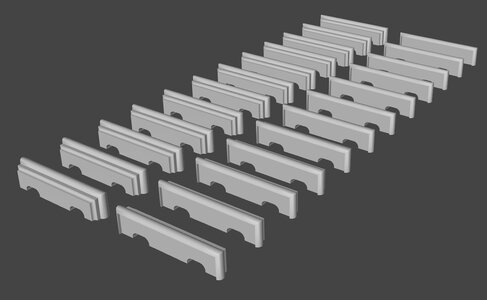
The previous tracks were also a bit thick, so this time they're more scale in thickness. They're about the thickness of a business card now. I had to reprint the forward tracks, because a bit of it didn't print. The pivot spot (donut) at the nose end didn't come out right, so I also printed a few spare donuts in case a spot deformed in printing again.
New tracks 3D printed
Then I remove the old pivots, scraped off the old tracks on the model's access hatches, and sanded them a bit. I'll have to sand some more to remove the scars of the old tracks, and the track before them, then reapply the deck's finish. Meanwhile the tracks will get primed and painted so they can get glued to the hatches.
The bits of the tracks that hang off the edges will get sawed off and glued onto the deck opposite the hatch seam - you'll see.
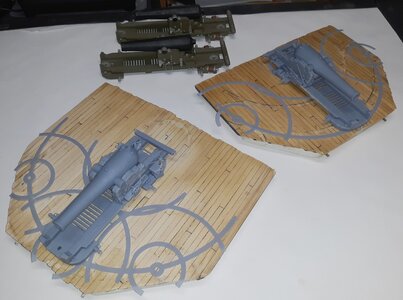
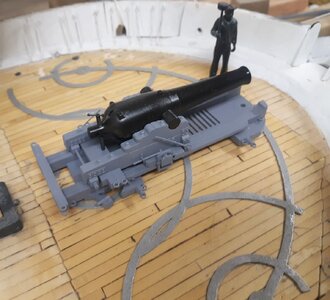
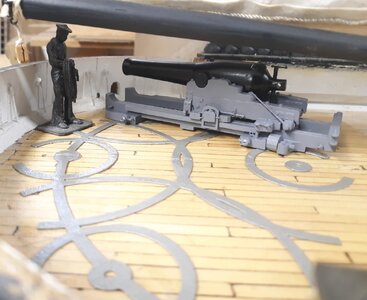
New tracks and guns sitting on their access hatches
 
Cleaned up the hatches and refinished them. Primed the guns and tracks, even painted the gun barrels, and when they dried, sat it all on the hatches for a pic.
View attachment 440150 View attachment 440151

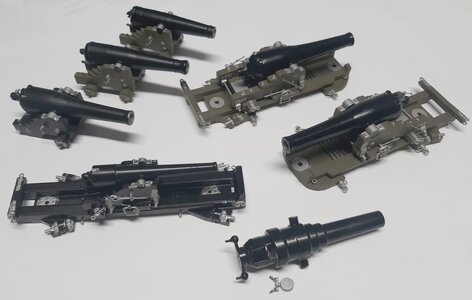
Also got some primer on the previously printed guns; 30# Parrott, IX Dahlgren, 8 inch shell-gun, 32# shot gun.
Good morning Jerry. Wow these are really good prints. Did you design the canons/guns yourself from documents?I as wondering which cad and splicer software you use ? I have fusion 360 and Lychee however am still a total rookie here. Cheers Grant
 
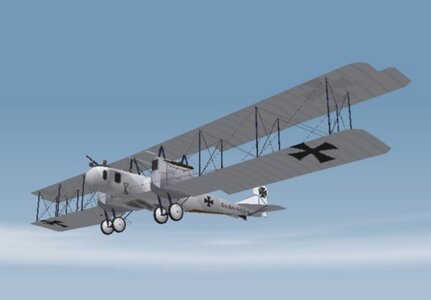
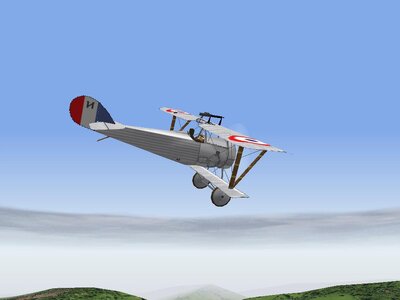
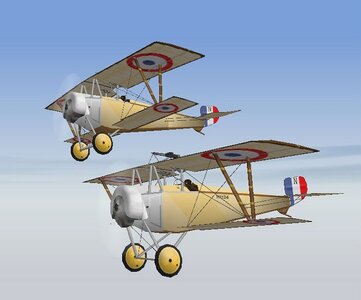
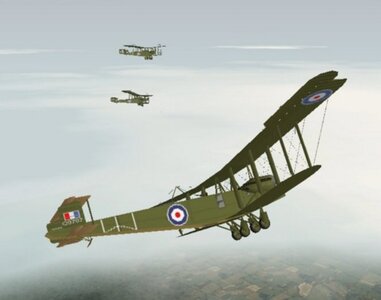
I 3D model using Anim8or, since the late 90's when I was making models for a WWI flight-sim/game called Red Baron 3D
Nieuport27.jpg nieuport10s.jpg gothagiv.jpg hp0400a.jpg
The models had to be somewhat simplistic or the game would become unplayable because of limited processing power.
The software was free, and could output in the 3DS format the game used. It's native output was in plain text, so a file could be edited in Notepad.

I got an Elegoo Mars resin 3D printer in 2020 with the specific intention of making model parts, and fell back on Anim8or to model them. I recently got a Mars3 printer, which has higher resolution.
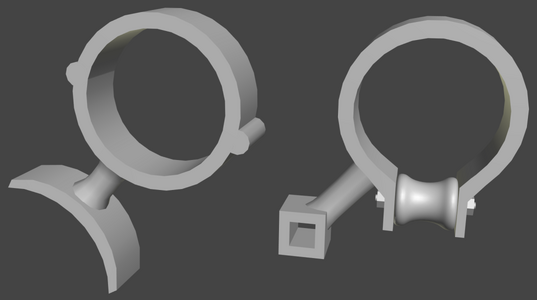
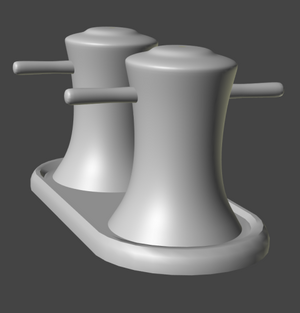
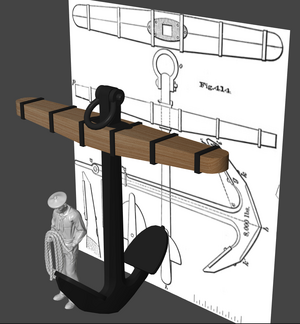
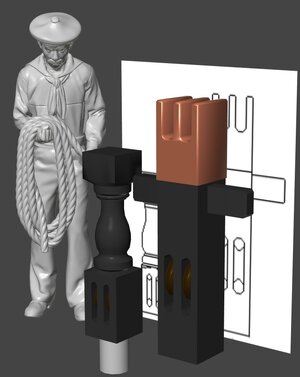
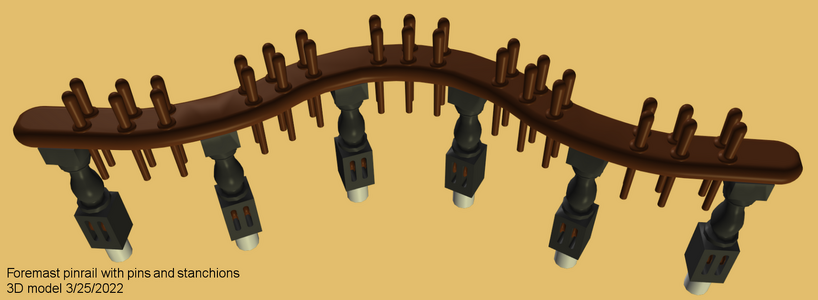
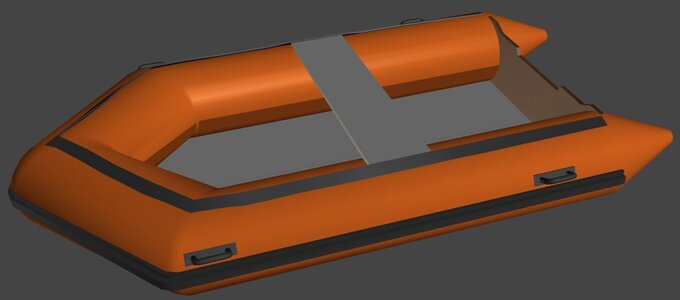
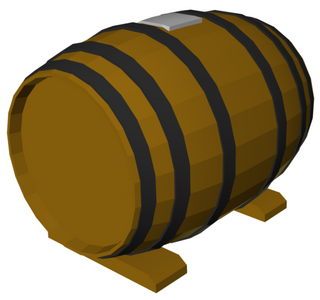
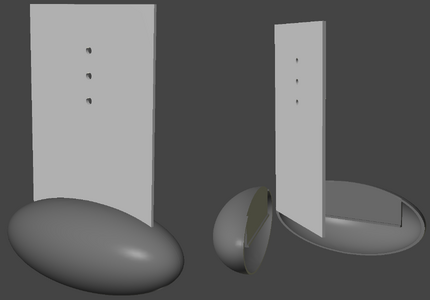
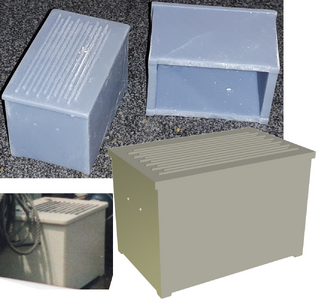
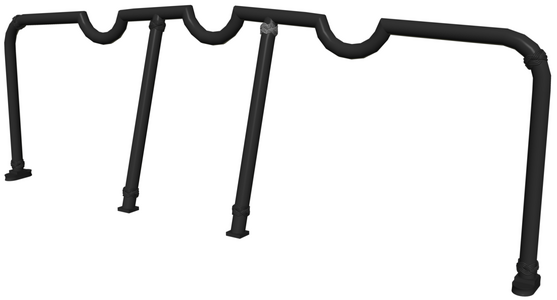
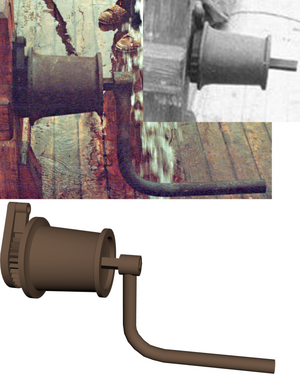
ringging_screw.png stunsl_boom_irons.png bollards3d.png anchor_8k.png stanchion_bitt.jpg pin_rails_w_pins.png 3Dinflatable.jpg barrel.png bulb20231128.png deck_box.png pri_6pdr.png roll_bar_port.png swivel.png winch_drum_w_handle.png boarding_step20200722b.jpg
 
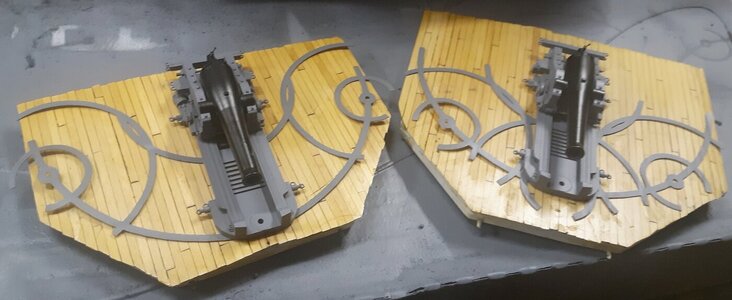
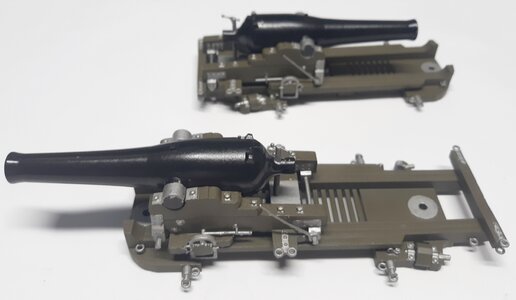
The pivot gun tracks are primed, painted, installed, and painted some more, then a clear-coat over everything.
The gun barrels are painted and detailed, but the carriages haven't been yet. I'm going to airbrush them the same olive color the previous guns were.
con20240408a.jpg con20240408b.jpg

The new field carriage for the boat-howitzer got painted as well.
con20240408c.jpg
 
Last edited:
I 3D model using Anim8or, since the late 90's when I was making models for a WWI flight-sim/game called Red Baron 3D
View attachment 440258 View attachment 440257 View attachment 440255 View attachment 440256
The models had to be somewhat simplistic or the game would become unplayable because of limited processing power.
The software was free, and could output in the 3DS format the game used. It's native output was in plain text, so a file could be edited in Notepad.

I got an Elegoo Mars resin 3D printer in 2020 with the specific intention of making model parts, and fell back on Anim8or to model them. I recently got a Mars3 printer, which has higher resolution.
View attachment 440263 View attachment 440264 View attachment 440265 View attachment 440266 View attachment 440267 View attachment 440268 View attachment 440271 View attachment 440272 View attachment 440273 View attachment 440274 View attachment 440275 View attachment 440276 View attachment 440277 View attachment 440278 View attachment 440270
Good morning. Wow you do wonderful 3D work. My learning curve using the CAd software is at the beginning and I still have some failures. It is quite a learning process. Thanks for this. Cheers Grant
 
It finally got warm enough in the shop for me to stand the place for more than 10 minutes, so I airbrushed on a couple of coats of olive on the carriages. Then I started painting the hardware in Testor's Flat Steel (my new favorite color). My aim isn't what it used to be, so I blop-on the steel, then cut in around it with the olive to get things neat again. Unfortunately, I have satin and gloss black in spray cans, but only flat black in brush-on, and Home Despot doesn't seem to carry anything smaller than quarts anymore. So the touch up on the gun tubes will have to wait till Tuesday, when the 8oz paints I ordered are said to be delivered.
con20240413a.jpg
I painted the other guns I printed as well...

ng20240413b.jpg
 
Last edited:
These guns are looking damn good - very good work
 
Back
Top