17th Century Battle Station

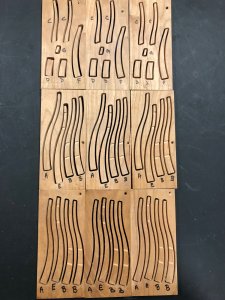
Today we got the set of carriages off in the mail to Don. Also finished 3 complete sets of CNC cut frame parts C, D, F, and G. They are cut out of 3/4" cherry billets using a 1/8" generic 2-flute endmill running 14,000 rpm. Each billet of parts took 5 min 10 seconds to cut out. Nice and clean with very small tabs. Just what the doctor ordered.. (no pun intended.. lol). It's also nice to measure 3/4" wood and see the gauge read 0.7500" :)

These are the advantages towards the laser cut.....so clean surface and a definitive 90° angle......looks realy good
And I think, that with that thickness of timber a laser would have problems.....Does somebody know, where are the reasonable limits for a laser cut in modeling kits?
 
My CO2 laser can cut wood in a single pass up to 3/8"(9.5mm) thick. It may be able to go thicker with multiple passes but I would never use it for that purpose as the charred edge would be pretty ugly to work with.
 
Hello everyone! Have just completed all of the CNC jobs for the 3 models. Here are a bunch of pictures for your viewing pleasure:

Frames in cherry
IMG_0728.JPG

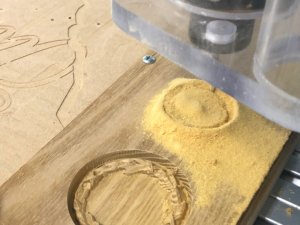
3D carving of Osage Orange using a 1/32 carbide ball nose
IMG_0748.JPG

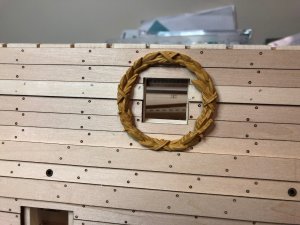
The resulting gunport wreath after being wiped with mineral spirits
IMG_0753.JPG

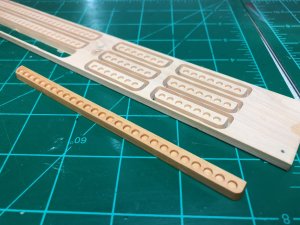
Shot racks in boxwood cut with a 1/16" carbide endmill. This is my first experience with boxwood and it is the most amazing model wood I have ever worked with.
IMG_0757.JPG

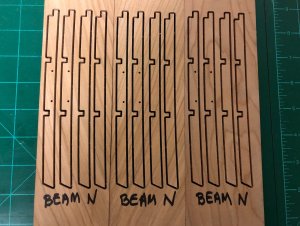
Deck beams in cherry
IMG_0773.JPG

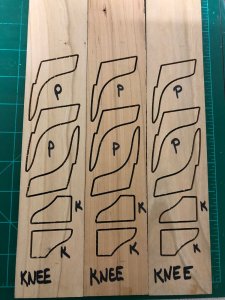
Knees in cherry
IMG_0774.JPG

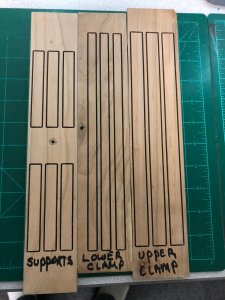
Deck clamps and supports in cherry
IMG_0781.JPG

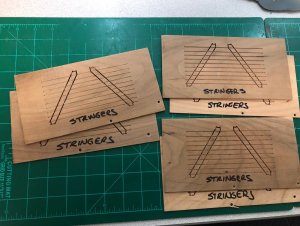
The ladder stringers were challenging to design. I cut 2 sets for each of us in cherry as they are quite fragile.
IMG_0782.JPG


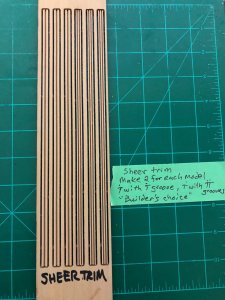
Did the sheer trim in Swiss Pear. A single channel and a double channel for each of us. Builder's choice.
IMG_0787.JPG

Dave had already milled the lower wales in ebony to size as well as the channel wales in swiss pear. Thats a lot of parts. We will now move on to the laser cutting!!
IMG_0789.JPG
 
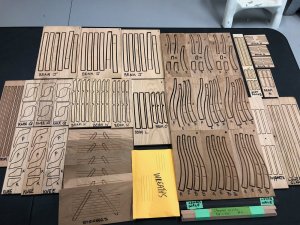
Today we zapped out about 100 parts on the laser.

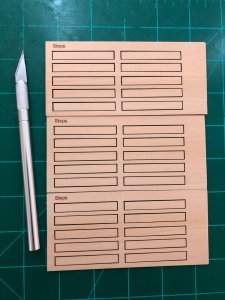
Ladder steps in boxwood. This wood is just fantastic. These steps should look very nice against the cherry stringers.
IMG_0790.JPG


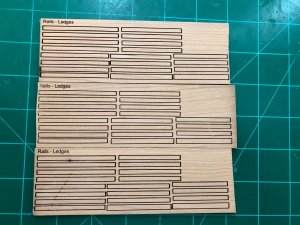
Rails and Ledges in cherry
IMG_0791.JPG

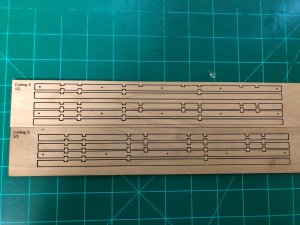
And three sets of Carlings in cherry. The laser cuts inside corners with much more precision that a CNC. Also much faster.. each of these billets took about 2 minutes to laser cut. And no hold down clamps... and no tabs!! :)
IMG_0792.JPG
 
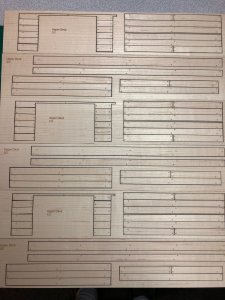
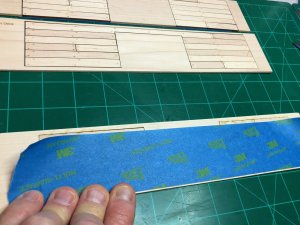
All of the upper deck planks have been custom cut in 3/32" hard maple. Not only are the treenails engraved but the planks have been randomized across the three sets to prevent the grain from looking too uniform. The laser char will provide the perfect look for caulking after assembly. Each billet is backed with masking tape and there are no tabs on the parts. This makes for very easy removal.

IMG_0800.JPG
 
.....— The laser char will provide the perfect look for caulking after assembly. Each billet is backed with masking tape and there are no tabs on the parts. This makes for very easy removal.

Not only for removal......if you want to use the char to imitate the caulking, than some tabs would interrupt the caulking and this would be definitely visible.....good idea
 
G'day guys
My mouth is watering!
It's also amazed me the amount of lumber is on a kit. But some how it all disappears.
Happymodeling
Greg
 
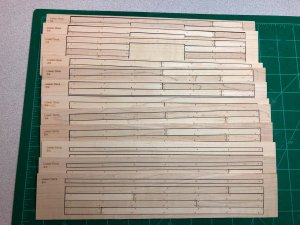
Just finished cutting 12 more billets of maple. This completes all of the deck planking for the three models. For those interested, I have added a few pictures to show what goes into completing a billet.

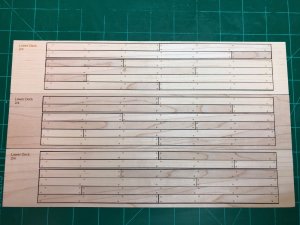
All of the lower deck planking
IMG_0812.JPG

First we mask one side of the billet.
IMG_0801.JPG

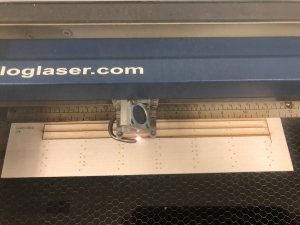
Then we place the billet into the laser with the mask face up, turn on exhaust fans and compressor. The job takes about 2 minutes for the laser to zap the billet.
IMG_0804.JPG

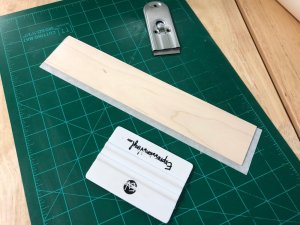
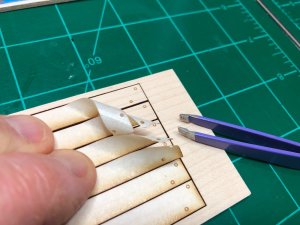
Then we carefully remove the mask from the boards. This eliminates any burn sap and char from the surface of the wood leaving a nice clean finish.
IMG_0805.JPG

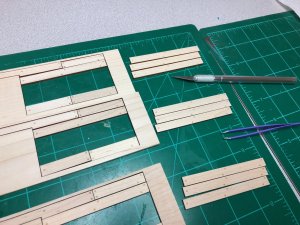
We carefully remove and replace each plank from the 3 sets in a random order.
IMG_0806.JPG

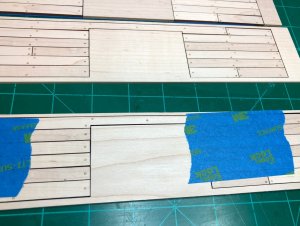
Apply a couple pieces of tape so we can flip the billet over without the planks falling out.
IMG_0807.JPG

Tightly mask the backside of the entire billet. This will hold all the planks in place until time for model assembly.
IMG_0808.JPG

Flip the billet back to the front.. remove the tape and the result should be a custom cut set of planks with a random grain pattern, ready to install.
IMG_0809.JPG
 
very good and many thanks for sharing with us.....and if we take a look on the mixed sets now, definitely it was correct to mix them,
so that the grain is not continuing into the nearby plank. This was a good decision!
 
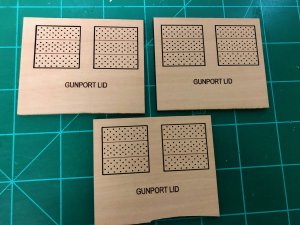
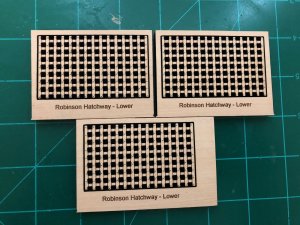
Appreciate the interest in our little project. Here is a small update for today. Just finished cutting the inner gunport lids and lower hatch grates that we discussed earlier in this log. Enjoy.

These will be glued vertically inside the gunport covers and are made from swiss pear.
IMG_0826.JPG

These boxwood hatch grates will be surrounded by rosewood combings. There is also an upper hatchway of slightly larger size.
IMG_0829.JPG
 
Back
Top