Yacht Olympus - 1929 (scratch 1/33°) [COMPLETED BUILD]

Hi all,
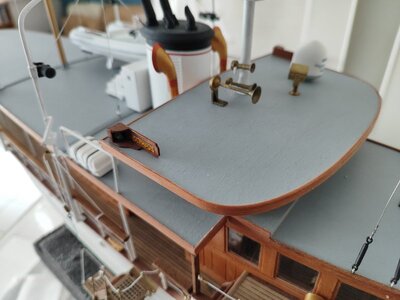
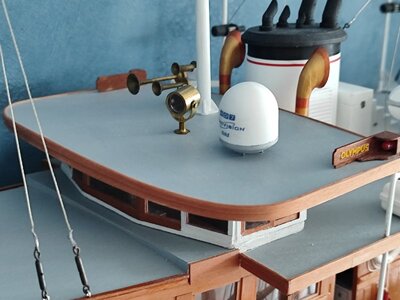
New photos today...

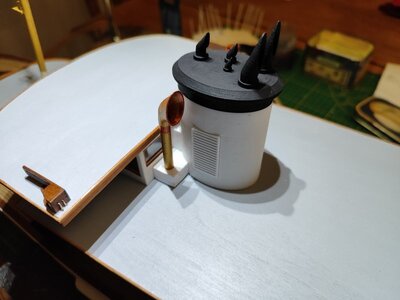
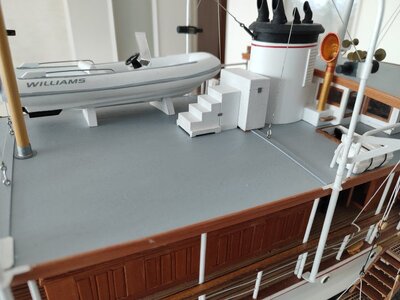
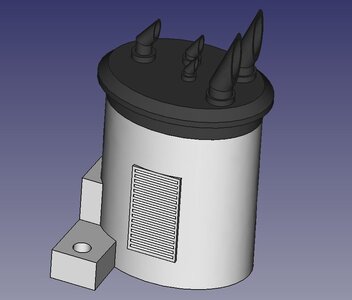
I modeled the chimney and printed it in 3D:
Cheminée CAD.JPG

Olympus149.jpg

Olympus150.jpg

Olympus151.jpg

Olympus152.jpg

Olympus153.jpg

Olympus154.jpg

Olympus155.jpg

Olympus158.jpg

Olympus159.jpg

Olympus160.jpg

I still have to fix the ladders and stairs:
Olympus166.jpg

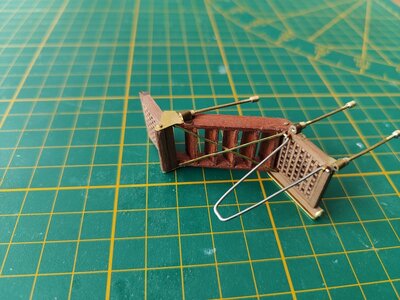
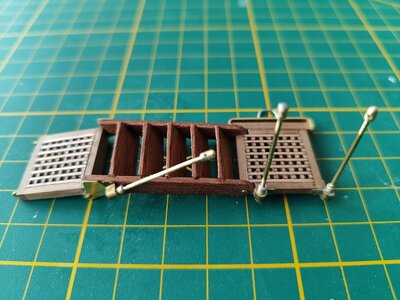
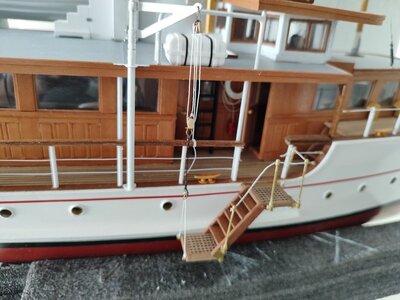
The accommodation ladder is almost a model in itself:
Olympus167.jpg

Olympus168.jpg

It is articulated so that it can be stored along the railing. The posts ("crutches for netting", I am not sure of this term) are removable for this purpose:
Olympus169.jpg

That's all for now...
Best regards,
Fred
 
Last edited:
the ladder is very good work - well done !!!
 
Hi all,
New photos today...

I modeled the chimney and printed it in 3D:
View attachment 434528

View attachment 434527

View attachment 434525

View attachment 434526

View attachment 434529

View attachment 434530

View attachment 434531

View attachment 434532

View attachment 434533

View attachment 434534

View attachment 434535

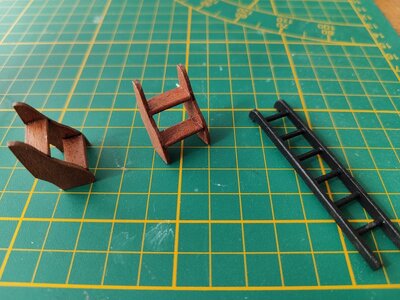
I still have to fix the ladders and stairs:
View attachment 434536

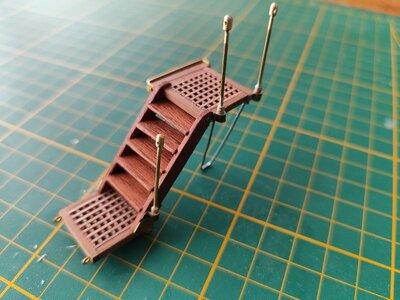
The accommodation ladder is almost a model in itself:
View attachment 434537

View attachment 434538

It is articulated so that it can be stored along the railing. The posts ("crutches for netting", I am not sure of this term) are removable for this purpose:
View attachment 434539

That's all for now...
Best regards,
Fred
Very nice detailed parts, Fred. She begins the shine!
Regards, Peter
 
Hi all,
After a summer break following the construction of the Benjamin W. Latham, I am now embarking on a somewhat crazy project: The complete scratch construction of a 1929 American yacht, the Olympus.

View attachment 401207

Why the Olympus you ask me?
First of all because I wanted to build something other than old rigs without it being a too recent boat. Then for a question of size and scale. To be able to produce details I wanted to opt for 1:33 but without the result being too large (less than a meter, for dark reasons of family cohesion)
Finally, because I simply like this yacht.
First obstacle and not the least, there is no plan of this boat. His former captain has started a profile and top shot but there is no shot of the couples.
View attachment 401208
This yacht has long belonged to an owner from Seattle and was recently sold to a New York shipowner who offers private cruises. The name has not changed, only its home port is now New York.

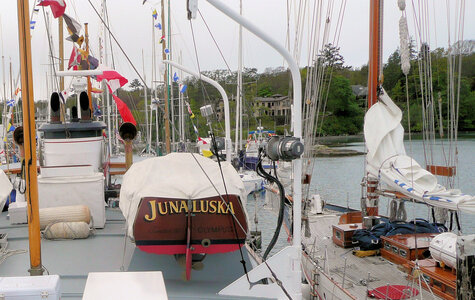
Note that this yacht was initially called the Junaluska. Junaluska is now the name of the Olympus Annex.
View attachment 401209

There is a fairly extensive iconography of this yacht on Facebook in particular and a 1:12 model has already been produced by Fred Heim (but it measures more than 2 meters long).

But enough of the chatter, it’s time to start producing.
I struggled to model the hull and I got help from a Cinéma4D expert (thanks Alexis!). Here is the modeling carried out based on the plan above and various photos of the yacht in care:

View attachment 401210

From this model we quickly obtain the structure of the couples using the “Slicer for Fusion360” software:

View attachment 401211

Then simply export to PDF format and everything is almost ready for laser cutting:

View attachment 401212

Laser cutting on TROTEC SP500:

Once the couples have been cut out, all that remains is to assemble them on a basic site. I found in my box of gadgets some small Venetian blind brackets which are perfect for holding the frames at 90° while the glue dries:
View attachment 401213

View attachment 401214

Here are some photos of the start of the planking. I use 6x2mm mahogany sticks (more precisely sapele). It's quite stiff as sticks and for the curves I use the bending pliers.
Where necessary I created balsa apostles:
View attachment 401215

The bow is made up of vertical sticks:
View attachment 401217

View attachment 401216

View attachment 401218

The stern of the Olympus is quite special, that’s what gives it its charm
View attachment 401222

View attachment 401219

At the same time I tackled the windlass. Here is the actual windlass:
View attachment 401220

I modeled this windlass from the few photos I have
View attachment 401221

And I printed the parts in 3D (PLA on Prusa printer):
View attachment 401223

All that remains is to assemble and paint them. I haven't found any other solution to make this windlass. The base plate measures 2x3cm.
That's all for today.

Best regards
Fred
Hallo @Fred P.
we wish you all the BEST and a HAPPY BIRTHDAY
Birthday-Cake
Enjoy your special day
 
Hello all,
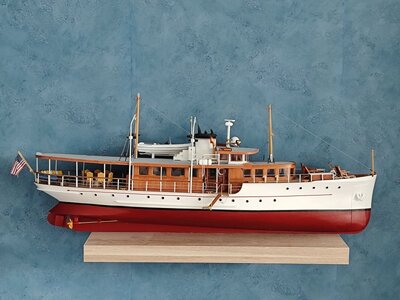
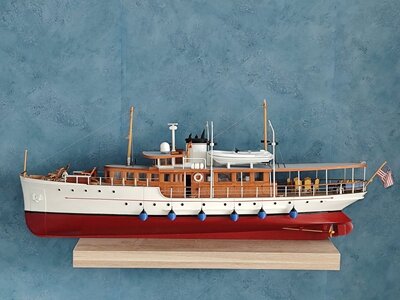
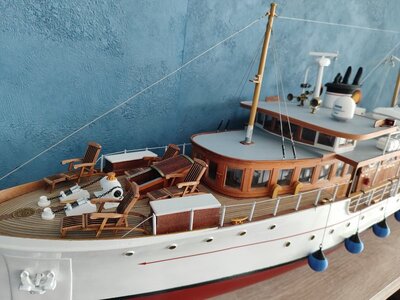
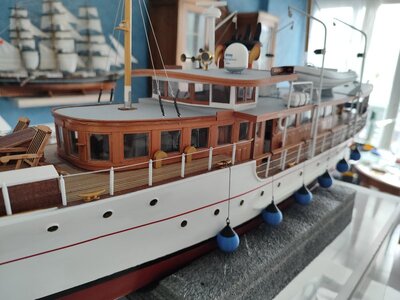
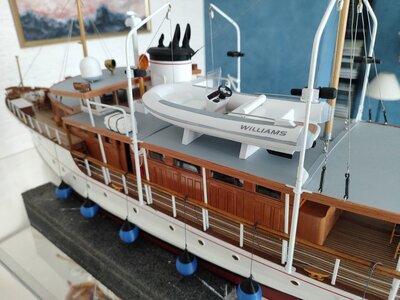
I have not been idle on the construction site during this month and the Olympus is now almost finished.
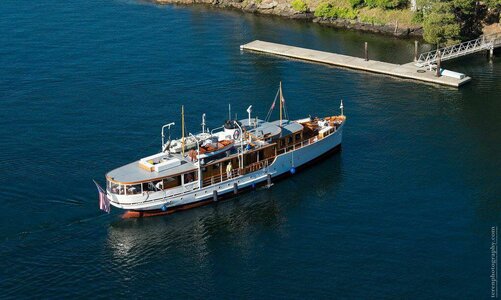
The Olympus carries two tenders. On the one hand the “historical” annex called “Junaluska” (the initial name of Olympus); I put historical in quotes because it is in fact a copy of the original boat which was not recoverable. It was scrapped in 1941 when the Olympus was requisitioned by the army. On the other hand there is a modern tender which differs depending on the date (before or after the sale of the Olympus). In the photos from before 2017 we can see a Johnson engine outboard as below:
10459054_10152502530430069_7777543840186716968_o.jpg

In the more recent photos, it is no longer the same boat and I had to rack my brains to build it. Here are the only two photos I have:
Olympus réel 002.jpg

Olympus réel 003.jpg

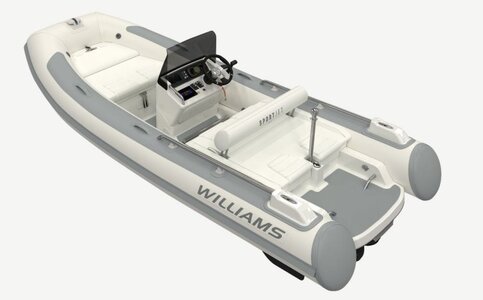
In these photos we see that it is a semi-rigid. On the first we realize that there is a hydrojet type propulsion. I looked on the internet, and I deduced that it must be a Williams (which matches what we guess is written on the tarpaulin (but I have a photo in a little better quality )). However Williams offers many models. As I saw that the new owner has children who must now be teenagers and for the size to be compatible I assumed that it was the SportJet 460:

Williams SportJet 460.jpg

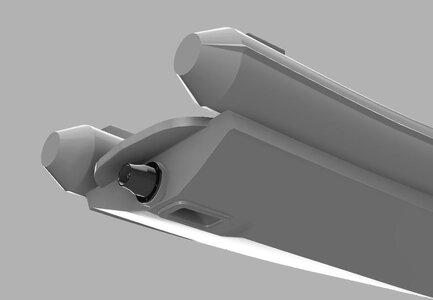
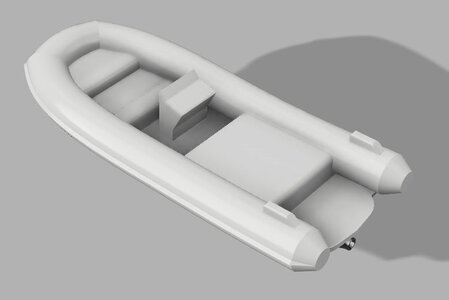
I found the plans on the internet and I modeled it in 3D (with Fusion 360 which I don't master very well, being more comfortable with Freecad but the latter is not suitable for boat hulls). The rear of the tubes is a little different because I think the plans I found were for the previous model:

SportJet 460 rendu Fusion 360.jpg

SportJet 460 dessous rendu Fusion 360.JPG

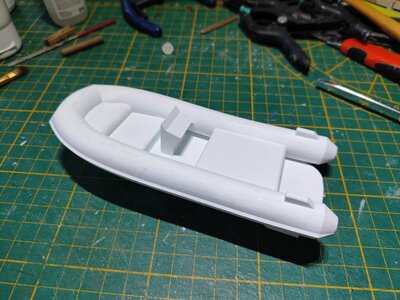
The next step was to 3D print it:
Olympus178.jpg

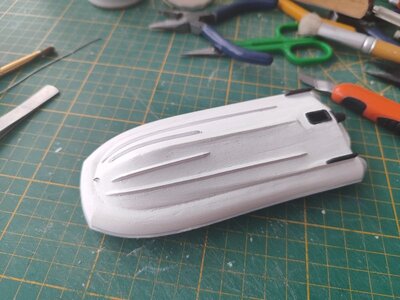
Below, I added the grooves and the side fins:
Olympus180.jpg

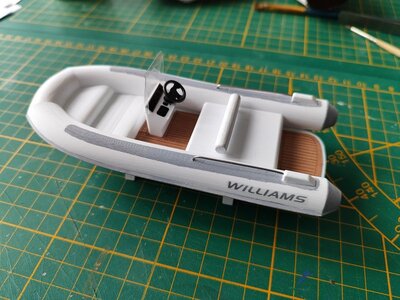
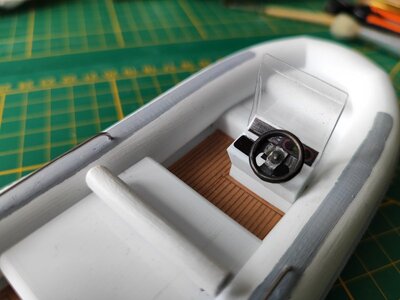
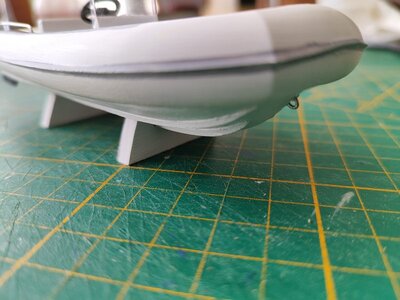
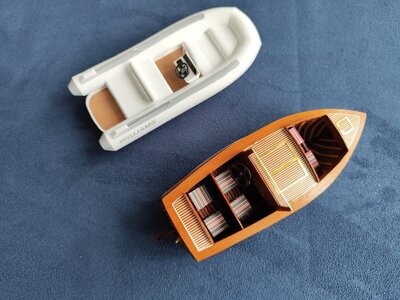
The finished model (length: 15cm):
Olympus181.jpg

Olympus182.jpg

Olympus185.jpg

That's all for this tender...
I will post more photos of the Olympus herself.
See you.

Fred
 
Fantastic Fred!
I'm not a fan of those Baroque ships with 200 canons.. to me this is so much more beautiful,
and there are (almost?) no kits available of this kind of ships.

Any chance that you'll make a set of 3d printed parts and laser cuts available as a kit?

keep up the good work!
John
 
Last edited:
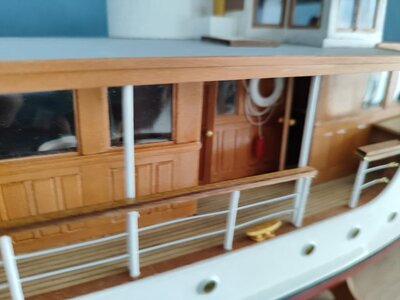
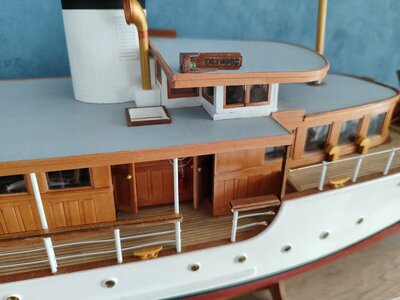
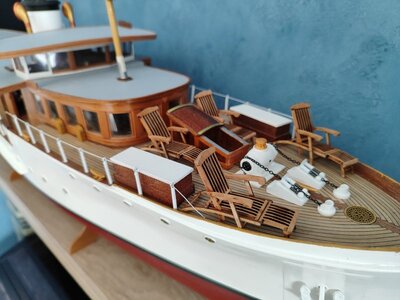
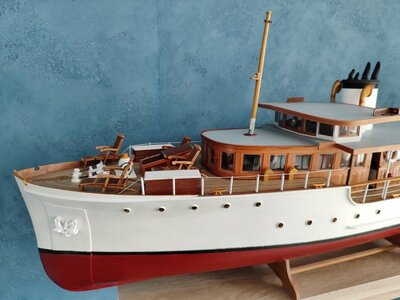
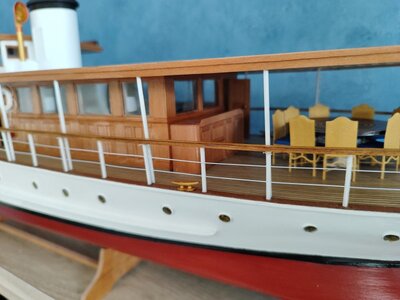
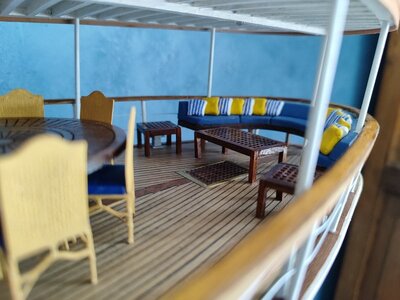
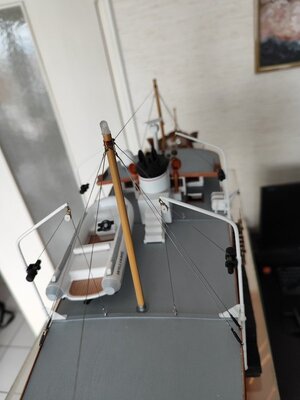
Hi all,
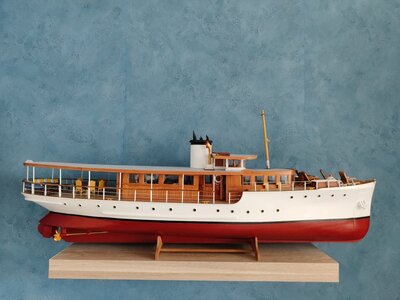
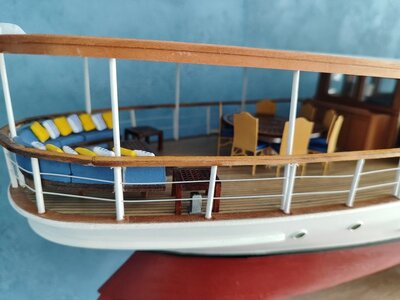
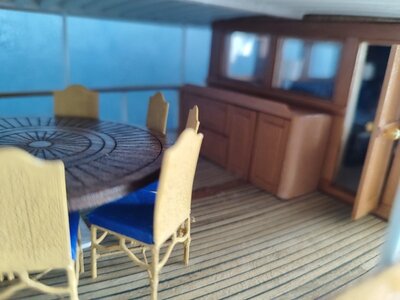
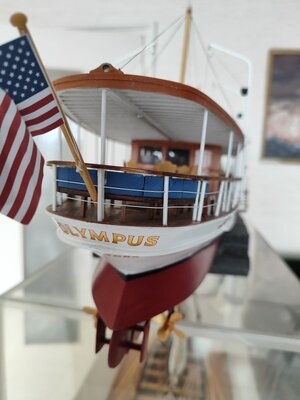
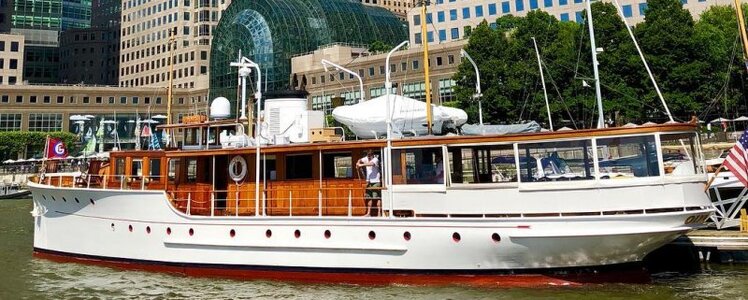
As I said in the previous post My Olympus is finished.
I am currently working on the Junaluska which is therefore absent from the photos below.

The starboard side:
View attachment 442498

The port side:
View attachment 442499

View attachment 442500

View attachment 442501

View attachment 442502

View attachment 442503

View attachment 442504

View attachment 442505

View attachment 442508

View attachment 442506

View attachment 442507

Have a nice day...
Fred
Congratulations with this beautiful result, Fred. A very nice outcome with a lot of details. You can be proud!
Regards, Peter
 
Also from my side congratulations for finishing your beautiful yacht
Bravo
I am looking forward to follow your next project....
 
Hello,
Thanks for your comments ;)
@John Hendrix: I'm not thinking of making a kit at the moment because my cut pieces were not used as is. I had to adjust them. I made some plans based on photos of my hull. This is a prototype. 3D printing the semi-rigid took 26 hours. So I can't do it in series, even if the series is small.

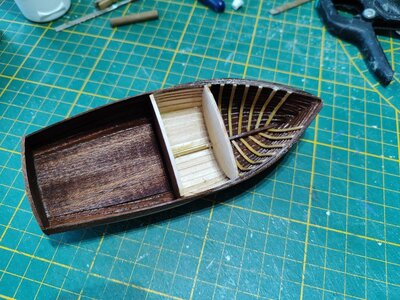
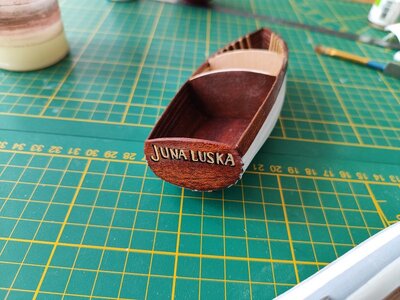
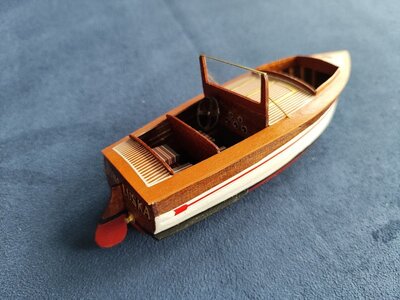
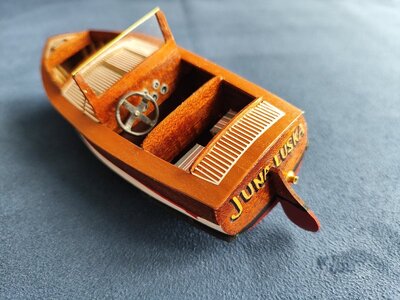
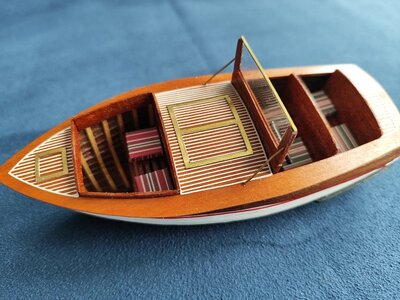
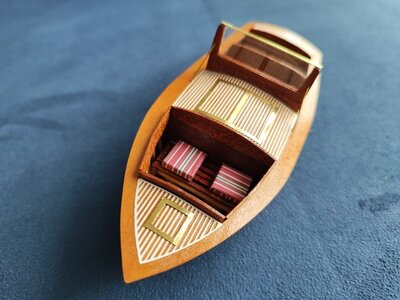
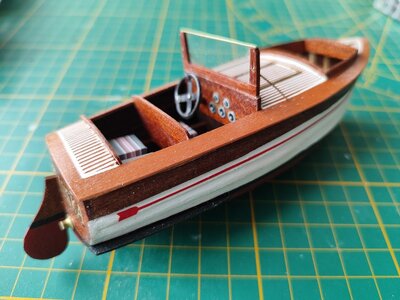
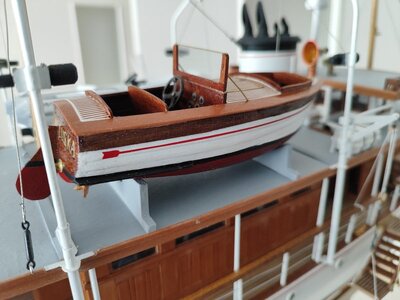
I have now completed the second tender, the "Junaluska". Here are the photos.

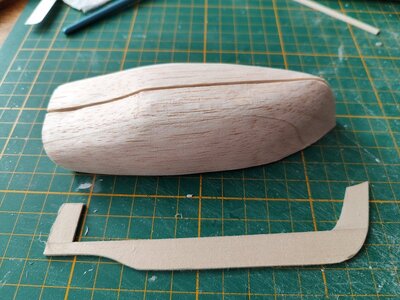
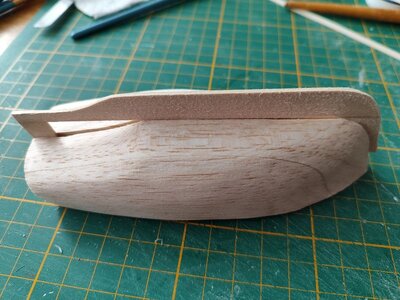
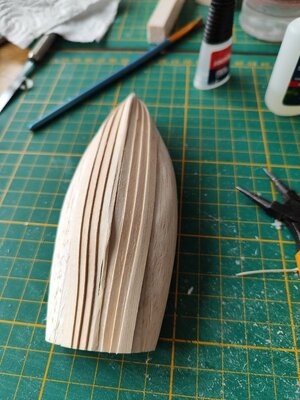
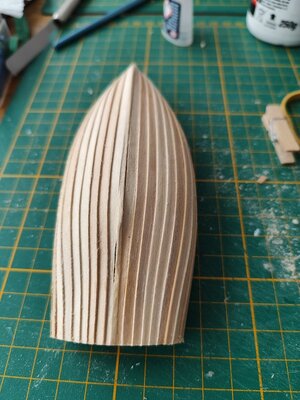
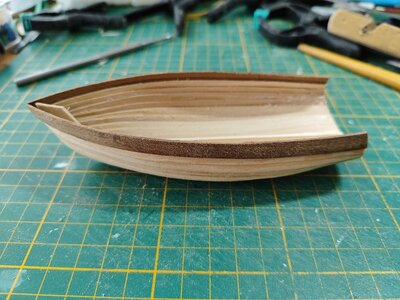
The construction of the clinker hull is traditional, on a balsa mold:
Olympus170.jpg

Olympus171.jpg

Olympus172.jpg

Olympus173.jpg

Olympus174.jpg

Olympus177.jpg

Olympus184.jpg

On those photos taken on a blue background the windshield is too high. I have modified it since I took these photos.
Olympus197.jpg

Olympus198.jpg

Olympus199.jpg

Olympus201.jpg

Olympus203.jpg

On the photos below I have modified the high of the windshield:
Olympus206.jpg

Normally when the Junaluska is on its cradle, the windshield is folded down. But on my model it is fixed:
Olympus207.jpg

A few words on the techniques used: as seen previously, I built the hull the old-fashioned way on a balsa mold. The deck is laser cut from cherry veneer (well I think, but it's the same as that used for the cabins of the Olympus). I made several copies to experiment with making the white stripes. The real method would have been to juxtapose different types of wood to obtain an effect identical to the real one, but I gave up on these dimensions. I tried to etch the lines and put paint on them but it was very ugly. Finally I cut the patterns out of iron-on vinyl and ironed it onto the deck (the cutting was done by a digital cutter). The brass hood frames are made from 0.3mm strip cut with a cutter. The steering wheel is made of welded and burnished brass. The cushions are covered with printed paper with the same pattern as the real one (it's called bayadère stripes). The propeller is 3D printed. The name of the boat is printed on decal paper but the yellow didn't show well and I went over it with more or less success.
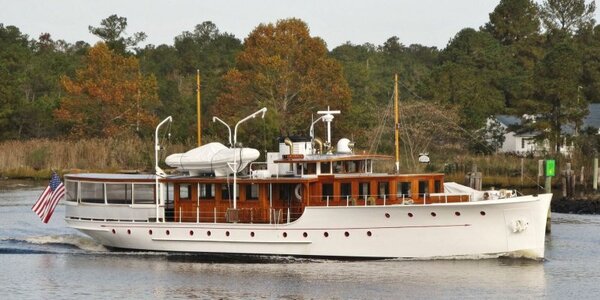
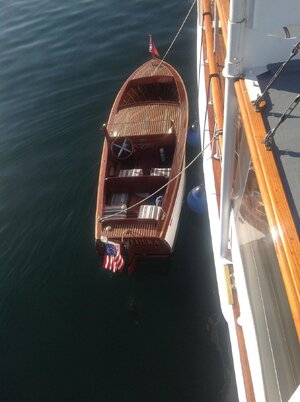
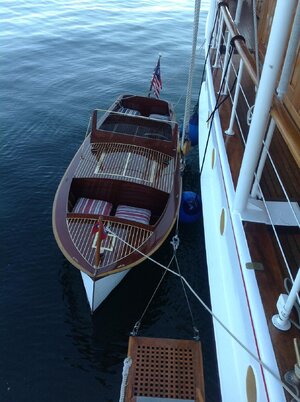
Finally, three photos of the real Junaluska:

210174_10150981599945069_898628574_o.jpg338130_10150981510925069_752263461_o.jpg

4560673957_251f0624f8_b.jpg

Best regards;
Fred
 
Hej Fred,
Thank you, I understand.. I didn't know it takes so long to 3d print parts, on top of all the works making drawings stec.
Still.. your build is one of the nicest I found here in SoS..congrats!
 
Back
Top