20221010
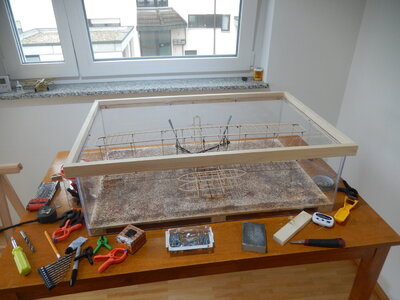
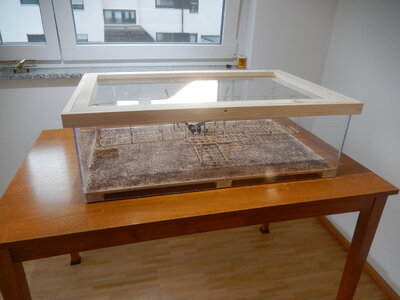
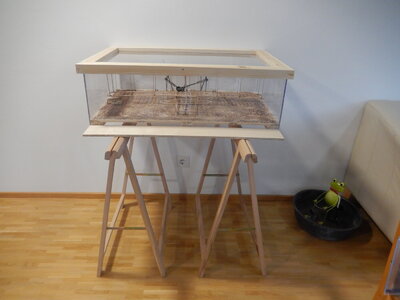
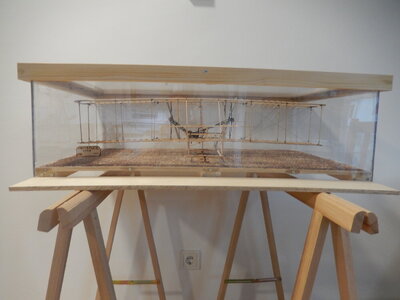
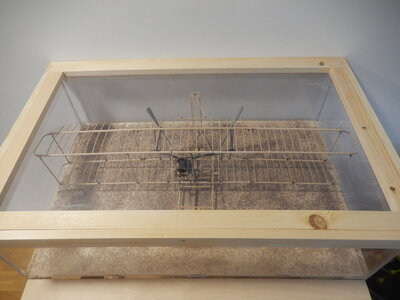
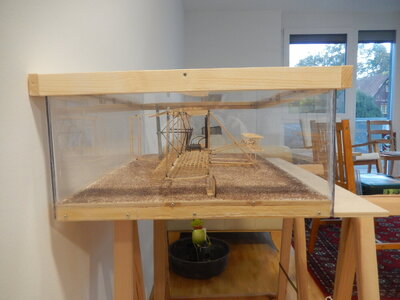
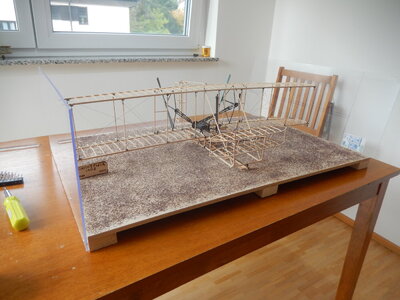
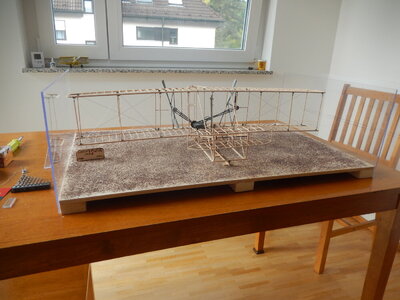
Started work during the week on the display case for the Wright Flyer I finished several months ago. I will be moving back to the US from Germany in about a year and wanted to build something that will withstand the move and preserve the model.
I purchased the materials a couple of months ago at two of the German builder supply stores near me – Bauhaus and Hornback. The base is a good grade of 10 mm plywood (50 cm wide); the supports for the base are cut from nominal 25 mm x 50 mm lumber. The plexiglass is by Gutta (www.gutta.com) and is 4 mm thick. I bought 2 - 50 cm x 100 cm sheets for the top, front & back; and 1 – 50 cm x 50 cm sheet for the sides. Total cost of materials, to include a tube of silicone sealant, was about €75 (not including glues and screws that I have left over from other projects).
I cut the plywood so it is just a bit longer than the Wight Flyer is wide and then cut the plexiglass to fit. (I don’t have any full-size power tools right now except a drill so the plexiglass was cut using a backsaw to score it partway through and then finished with a hacksaw blade.)
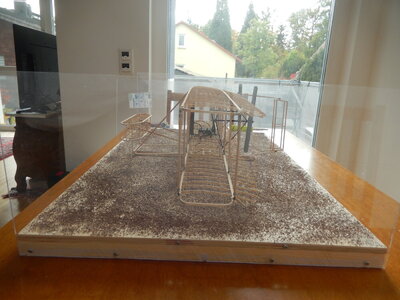
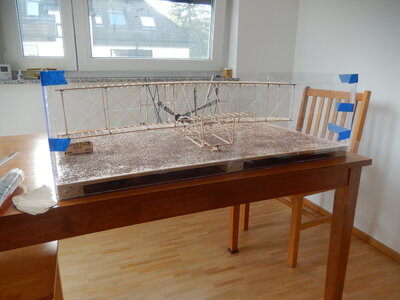
To simulate the Kitty Hawk, North Carolina area, I dusted the plywood with some sand (using spray adhesive). Probably not the right color/texture for North Carolina sand but it is what I had available in my supply stash. I glued and wired the Wright Flyer to the launching rail and then glued/wired the launching rail to the plywood. The identification sign under the starboard (right) wing tip is partially hiding a thin plexiglass rod (cut from scrap) that, in the absence of a pilot, balances the Flyer.
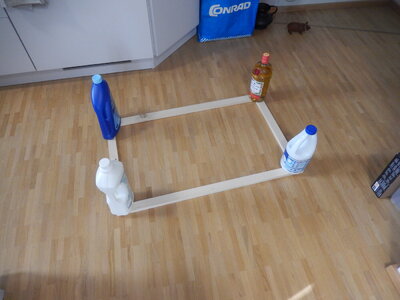
I drilled and countersunk holes in the plexiglass so I could screw the sides, front & back to the base. So far only the 2 sides and front have been attached to the base (glued/screwed) and each other (glue on the edges; silicone sealant on the inside where the panels join).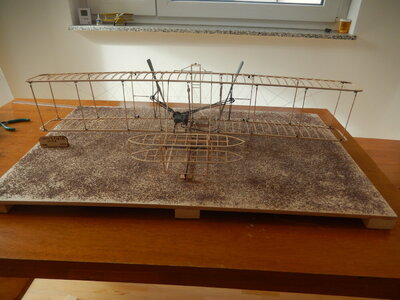
I will finish this project next weekend.
Started work during the week on the display case for the Wright Flyer I finished several months ago. I will be moving back to the US from Germany in about a year and wanted to build something that will withstand the move and preserve the model.
I purchased the materials a couple of months ago at two of the German builder supply stores near me – Bauhaus and Hornback. The base is a good grade of 10 mm plywood (50 cm wide); the supports for the base are cut from nominal 25 mm x 50 mm lumber. The plexiglass is by Gutta (www.gutta.com) and is 4 mm thick. I bought 2 - 50 cm x 100 cm sheets for the top, front & back; and 1 – 50 cm x 50 cm sheet for the sides. Total cost of materials, to include a tube of silicone sealant, was about €75 (not including glues and screws that I have left over from other projects).
I cut the plywood so it is just a bit longer than the Wight Flyer is wide and then cut the plexiglass to fit. (I don’t have any full-size power tools right now except a drill so the plexiglass was cut using a backsaw to score it partway through and then finished with a hacksaw blade.)
To simulate the Kitty Hawk, North Carolina area, I dusted the plywood with some sand (using spray adhesive). Probably not the right color/texture for North Carolina sand but it is what I had available in my supply stash. I glued and wired the Wright Flyer to the launching rail and then glued/wired the launching rail to the plywood. The identification sign under the starboard (right) wing tip is partially hiding a thin plexiglass rod (cut from scrap) that, in the absence of a pilot, balances the Flyer.
I drilled and countersunk holes in the plexiglass so I could screw the sides, front & back to the base. So far only the 2 sides and front have been attached to the base (glued/screwed) and each other (glue on the edges; silicone sealant on the inside where the panels join).


I will finish this project next weekend.


