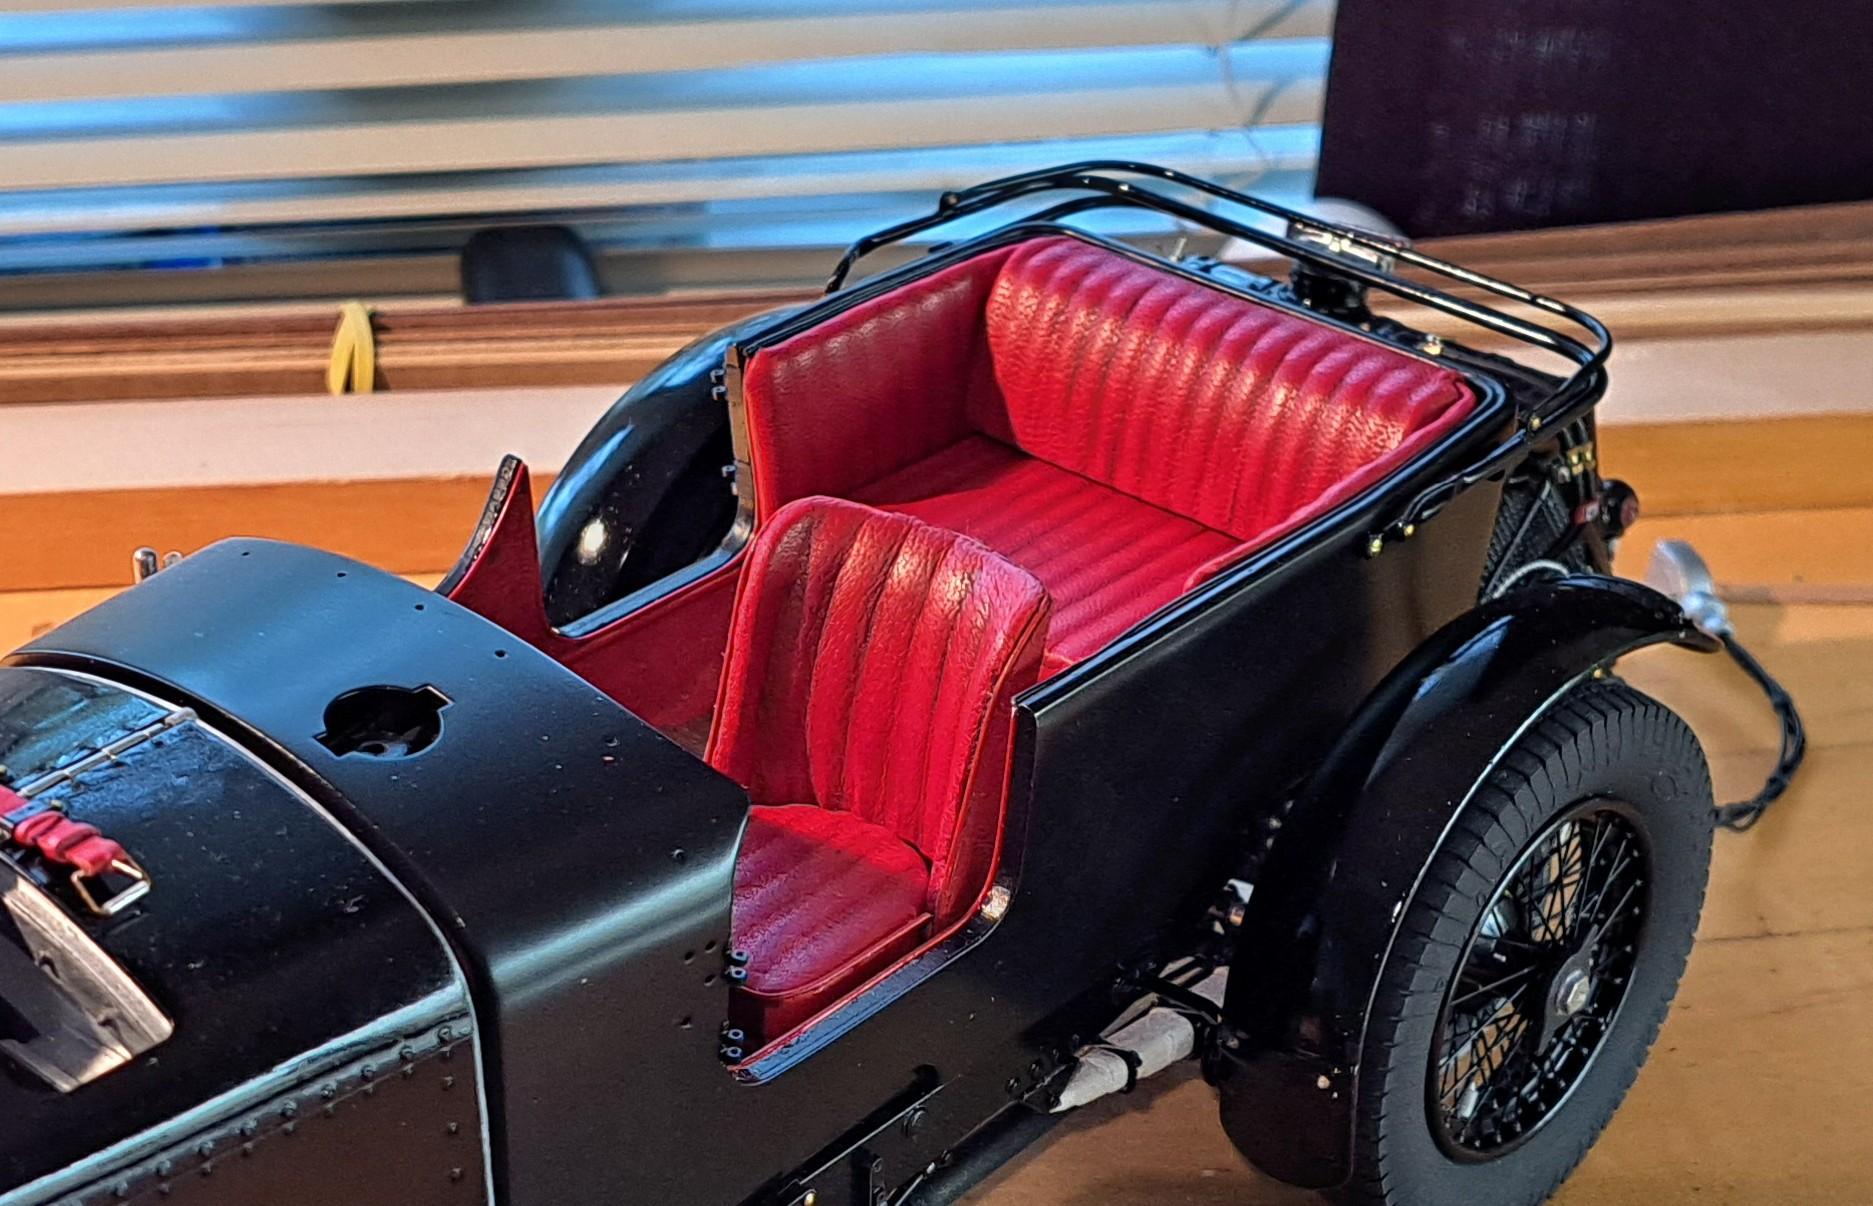
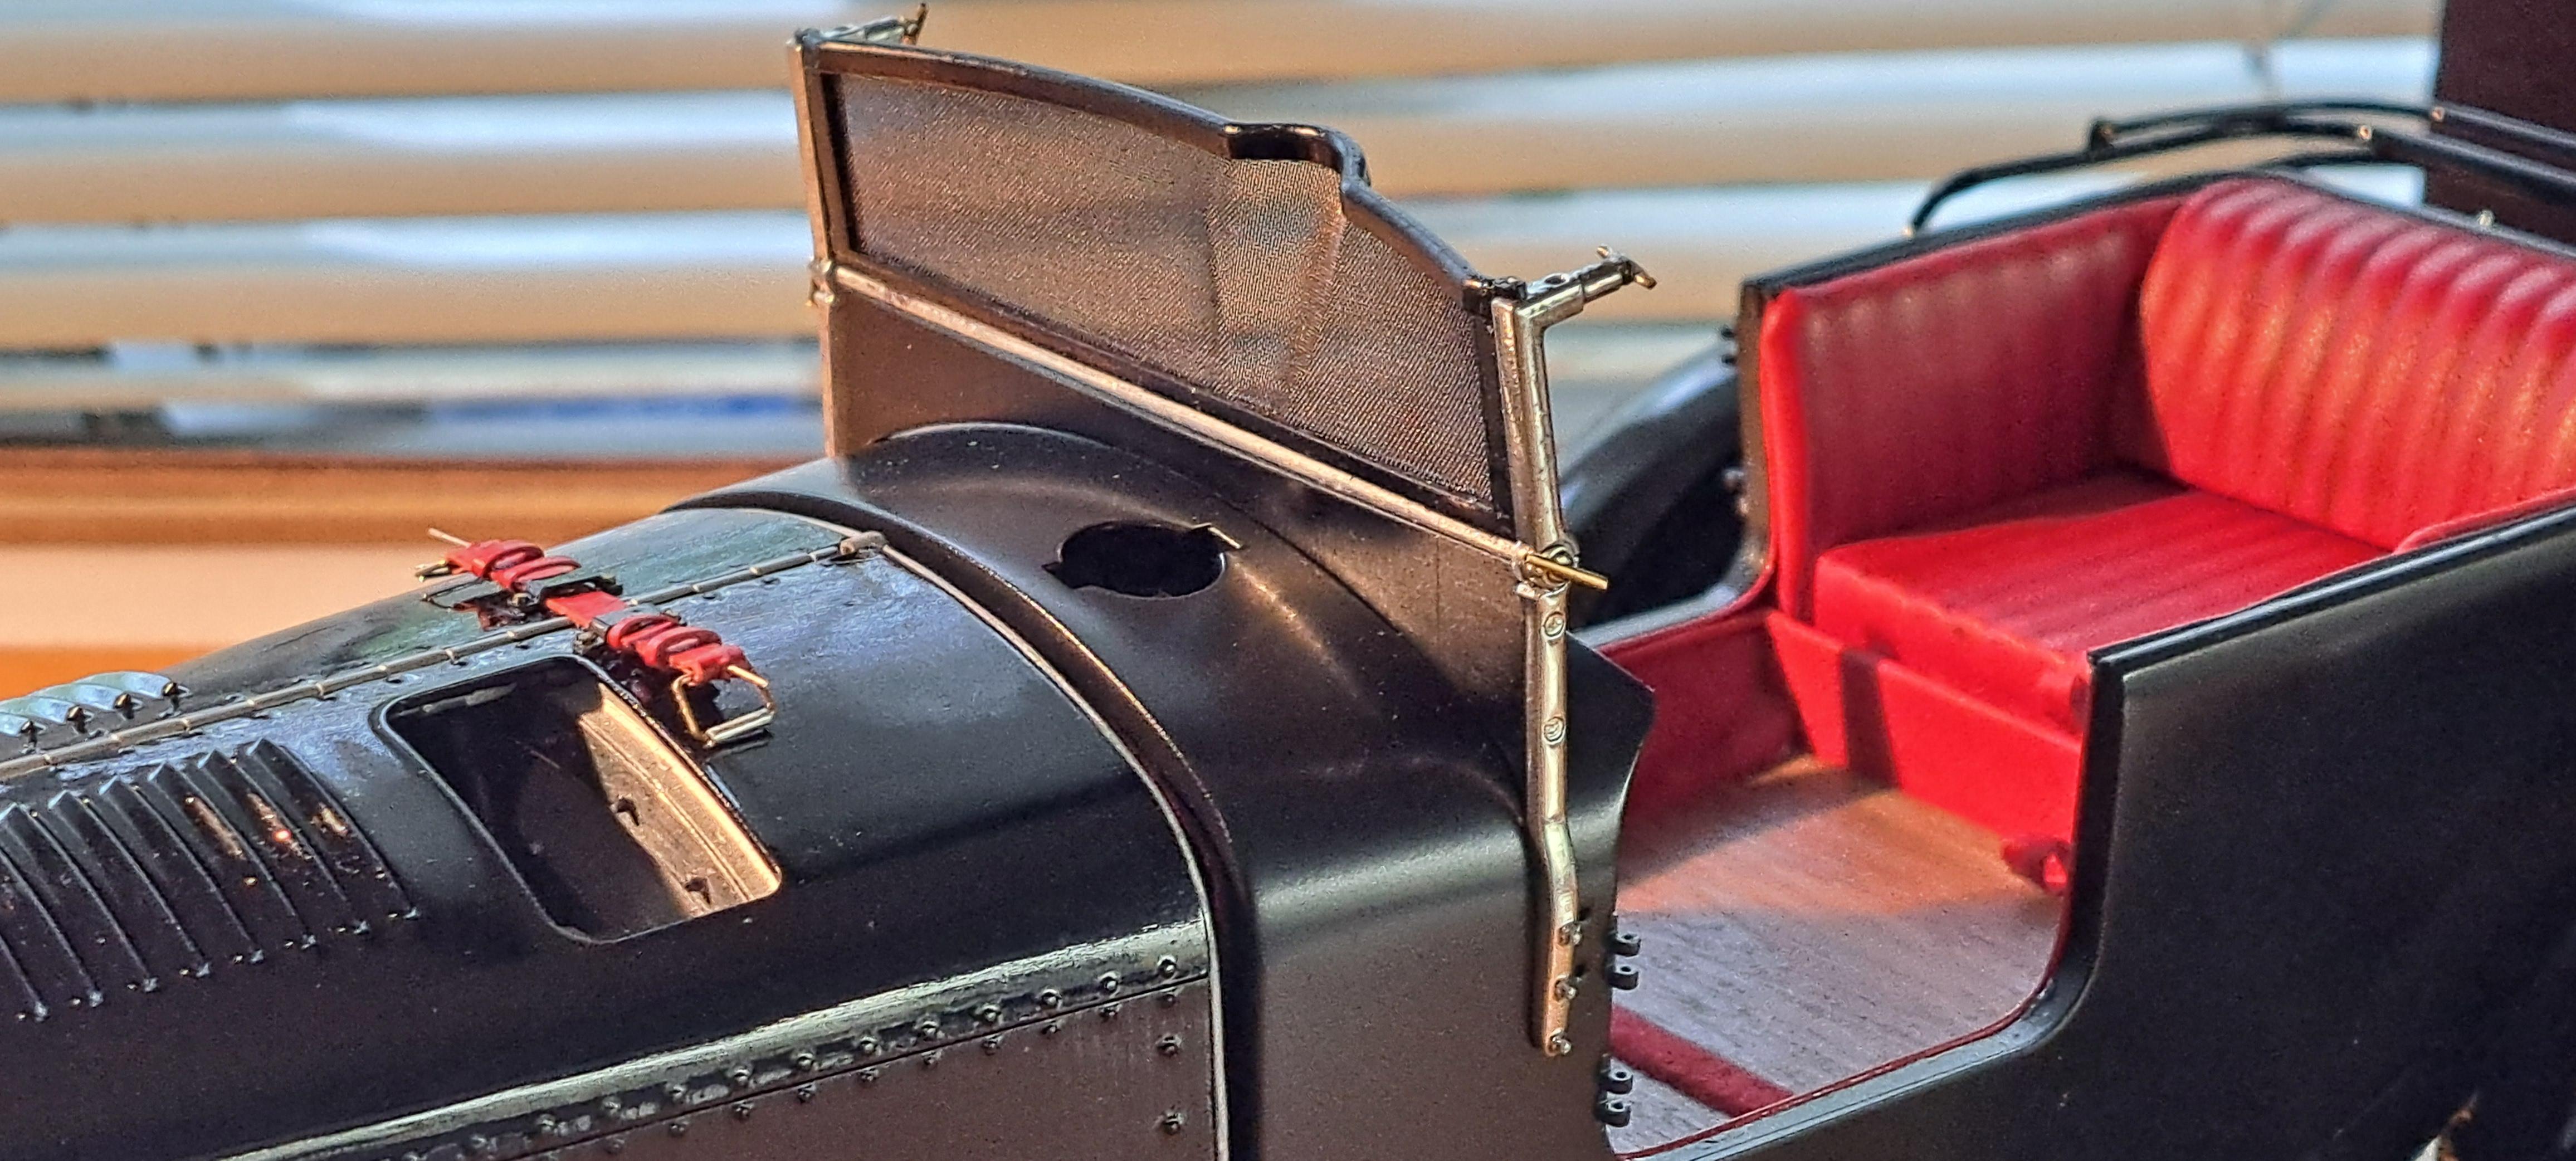
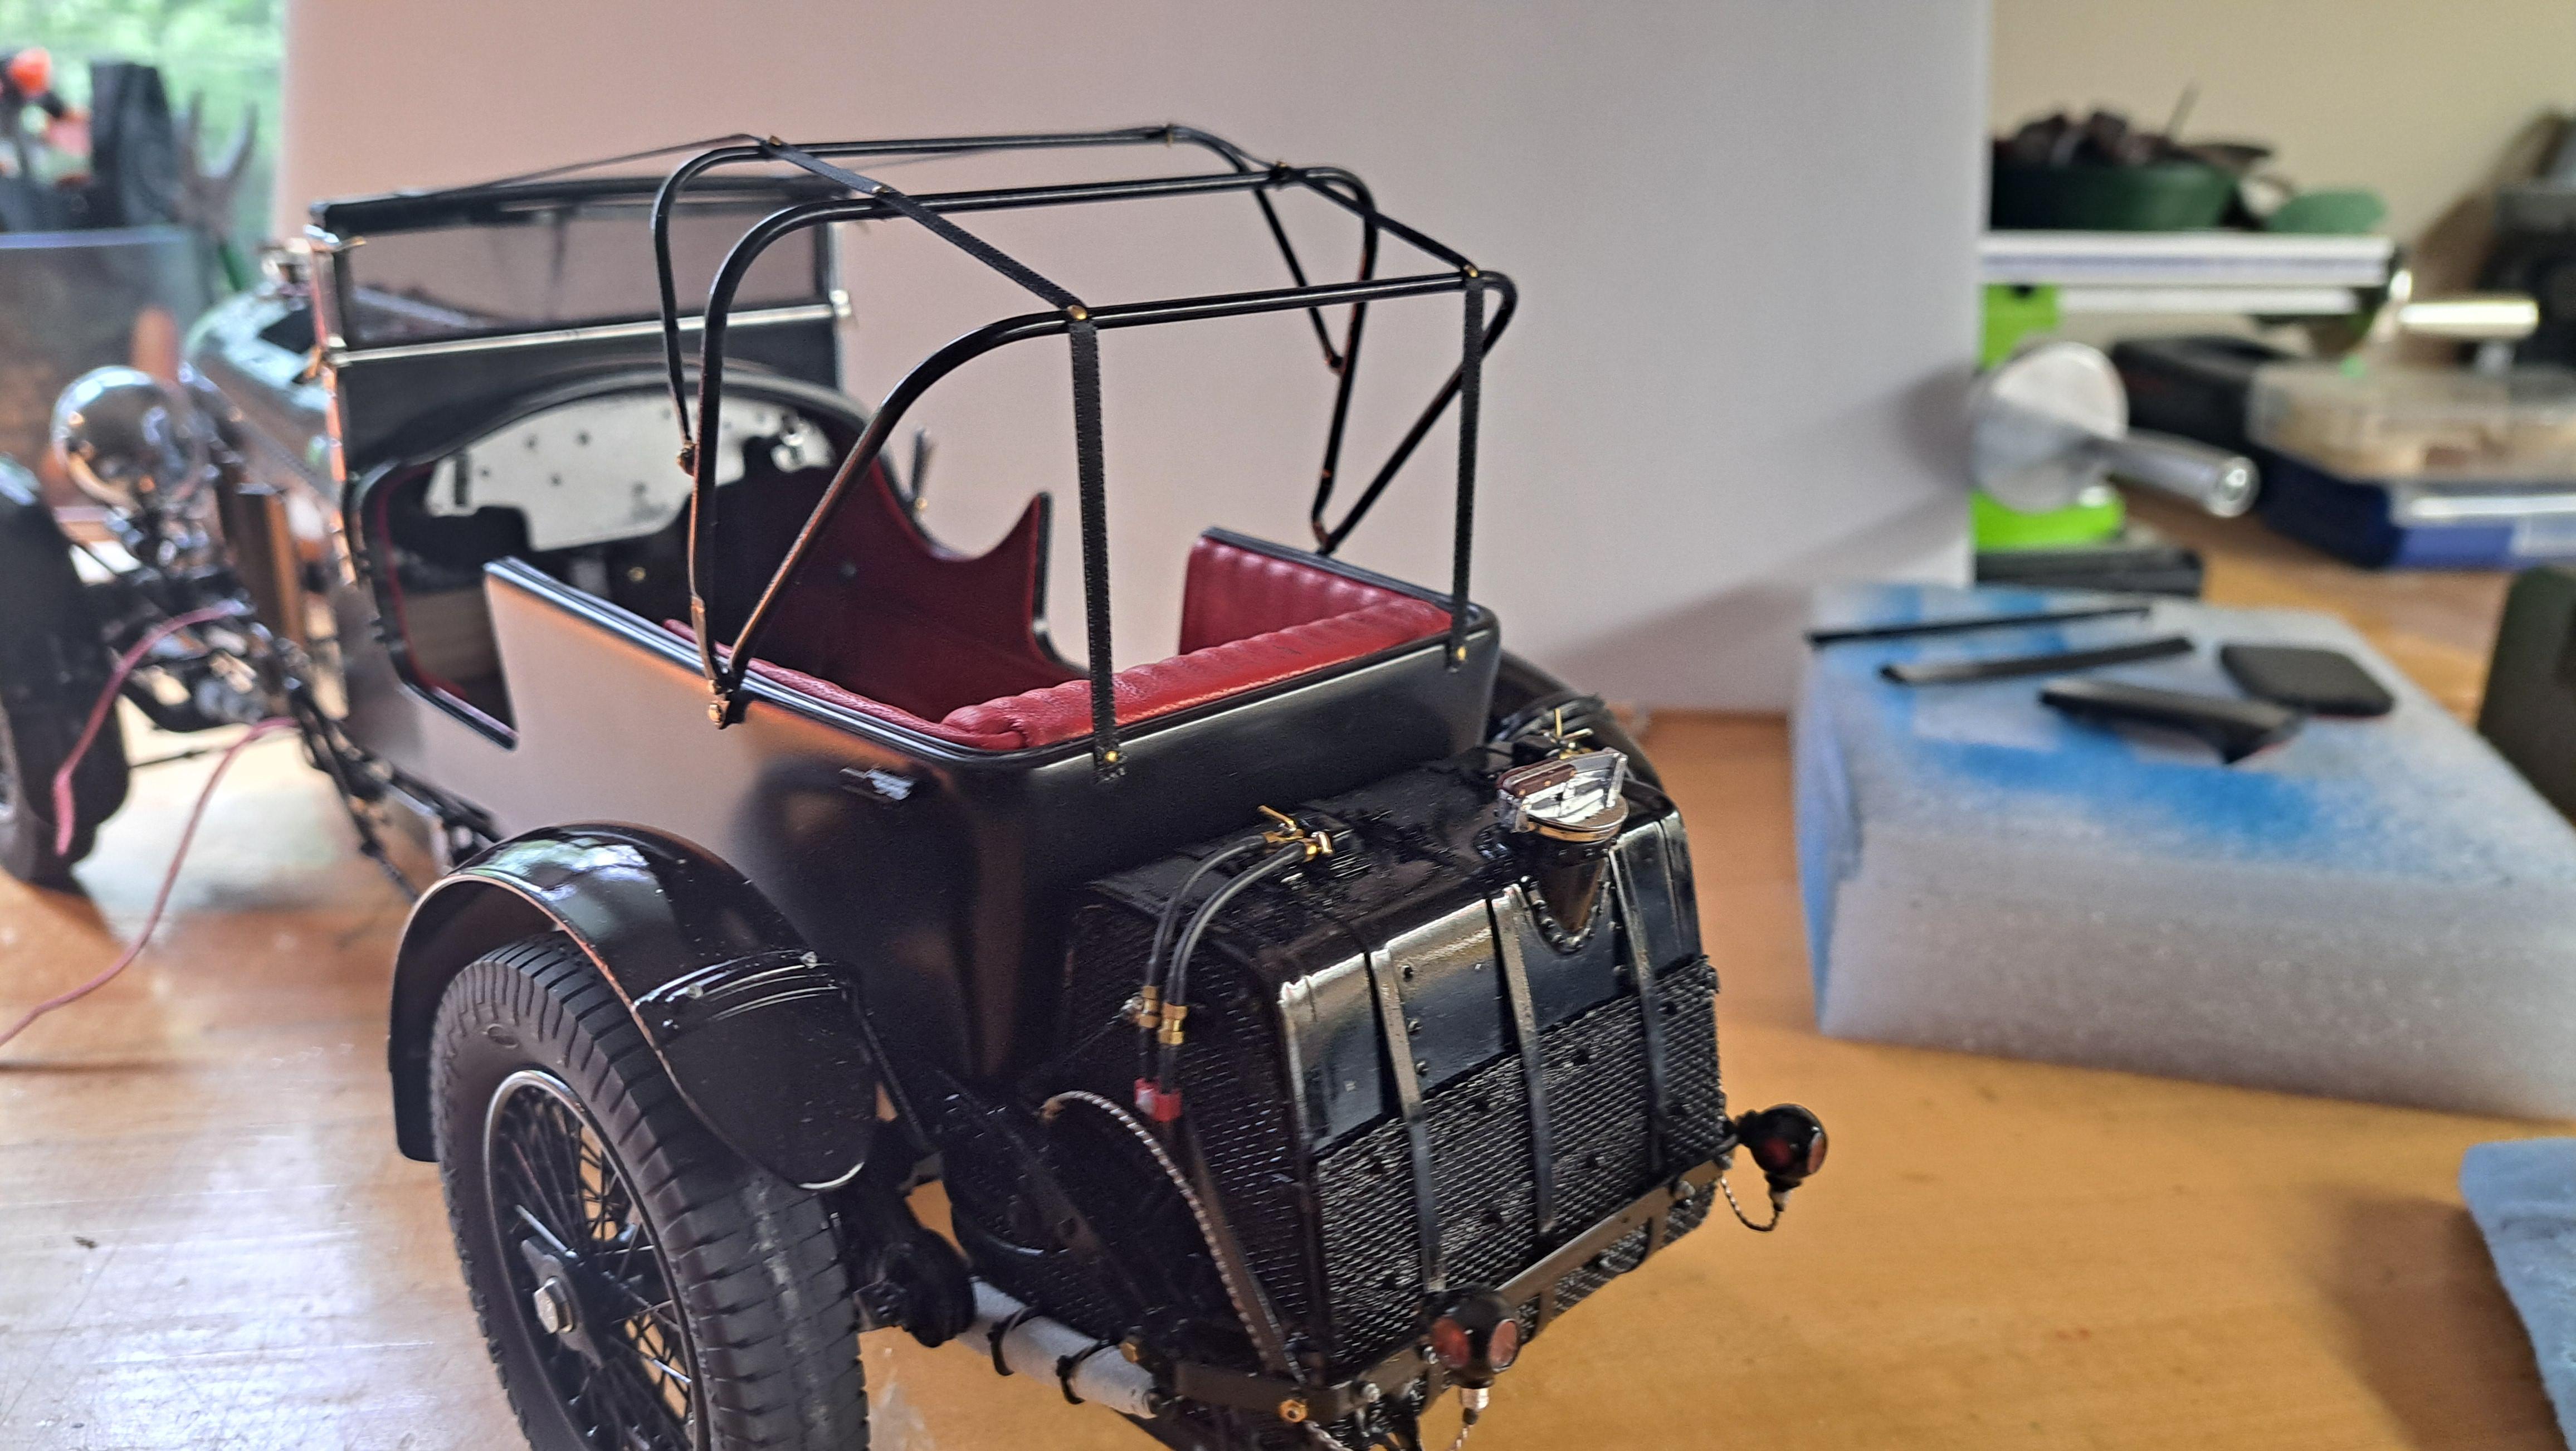
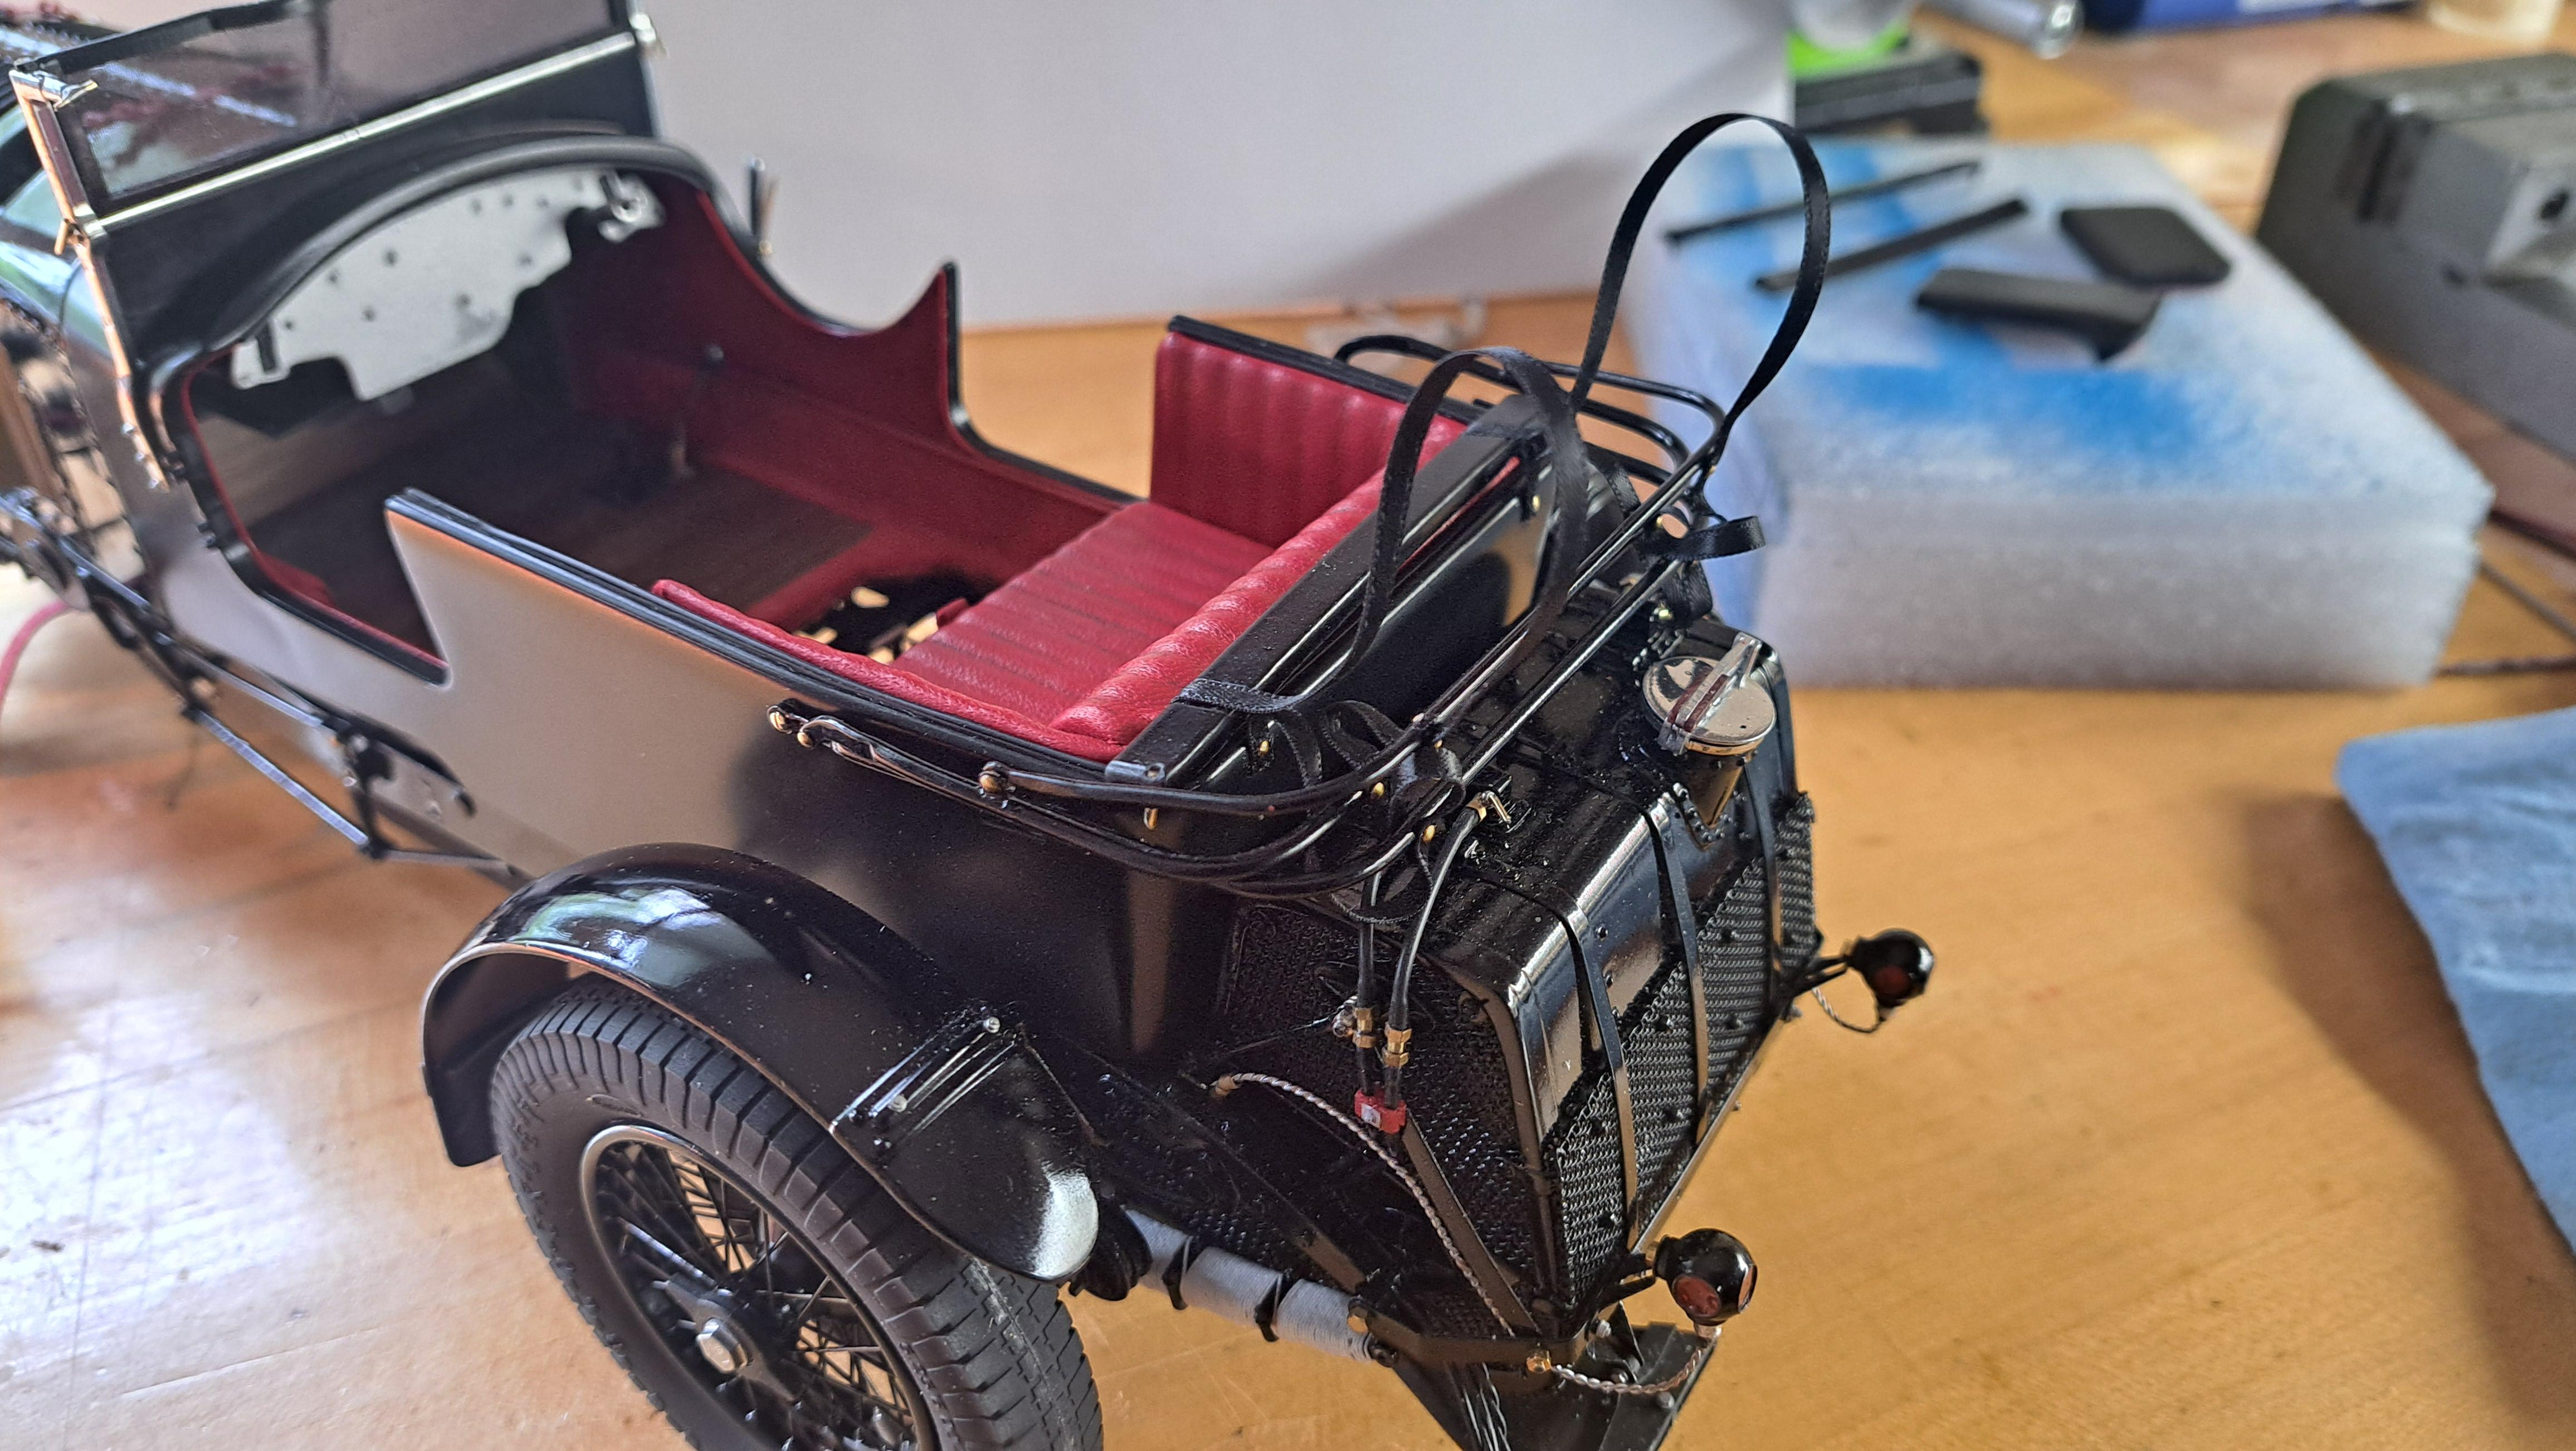
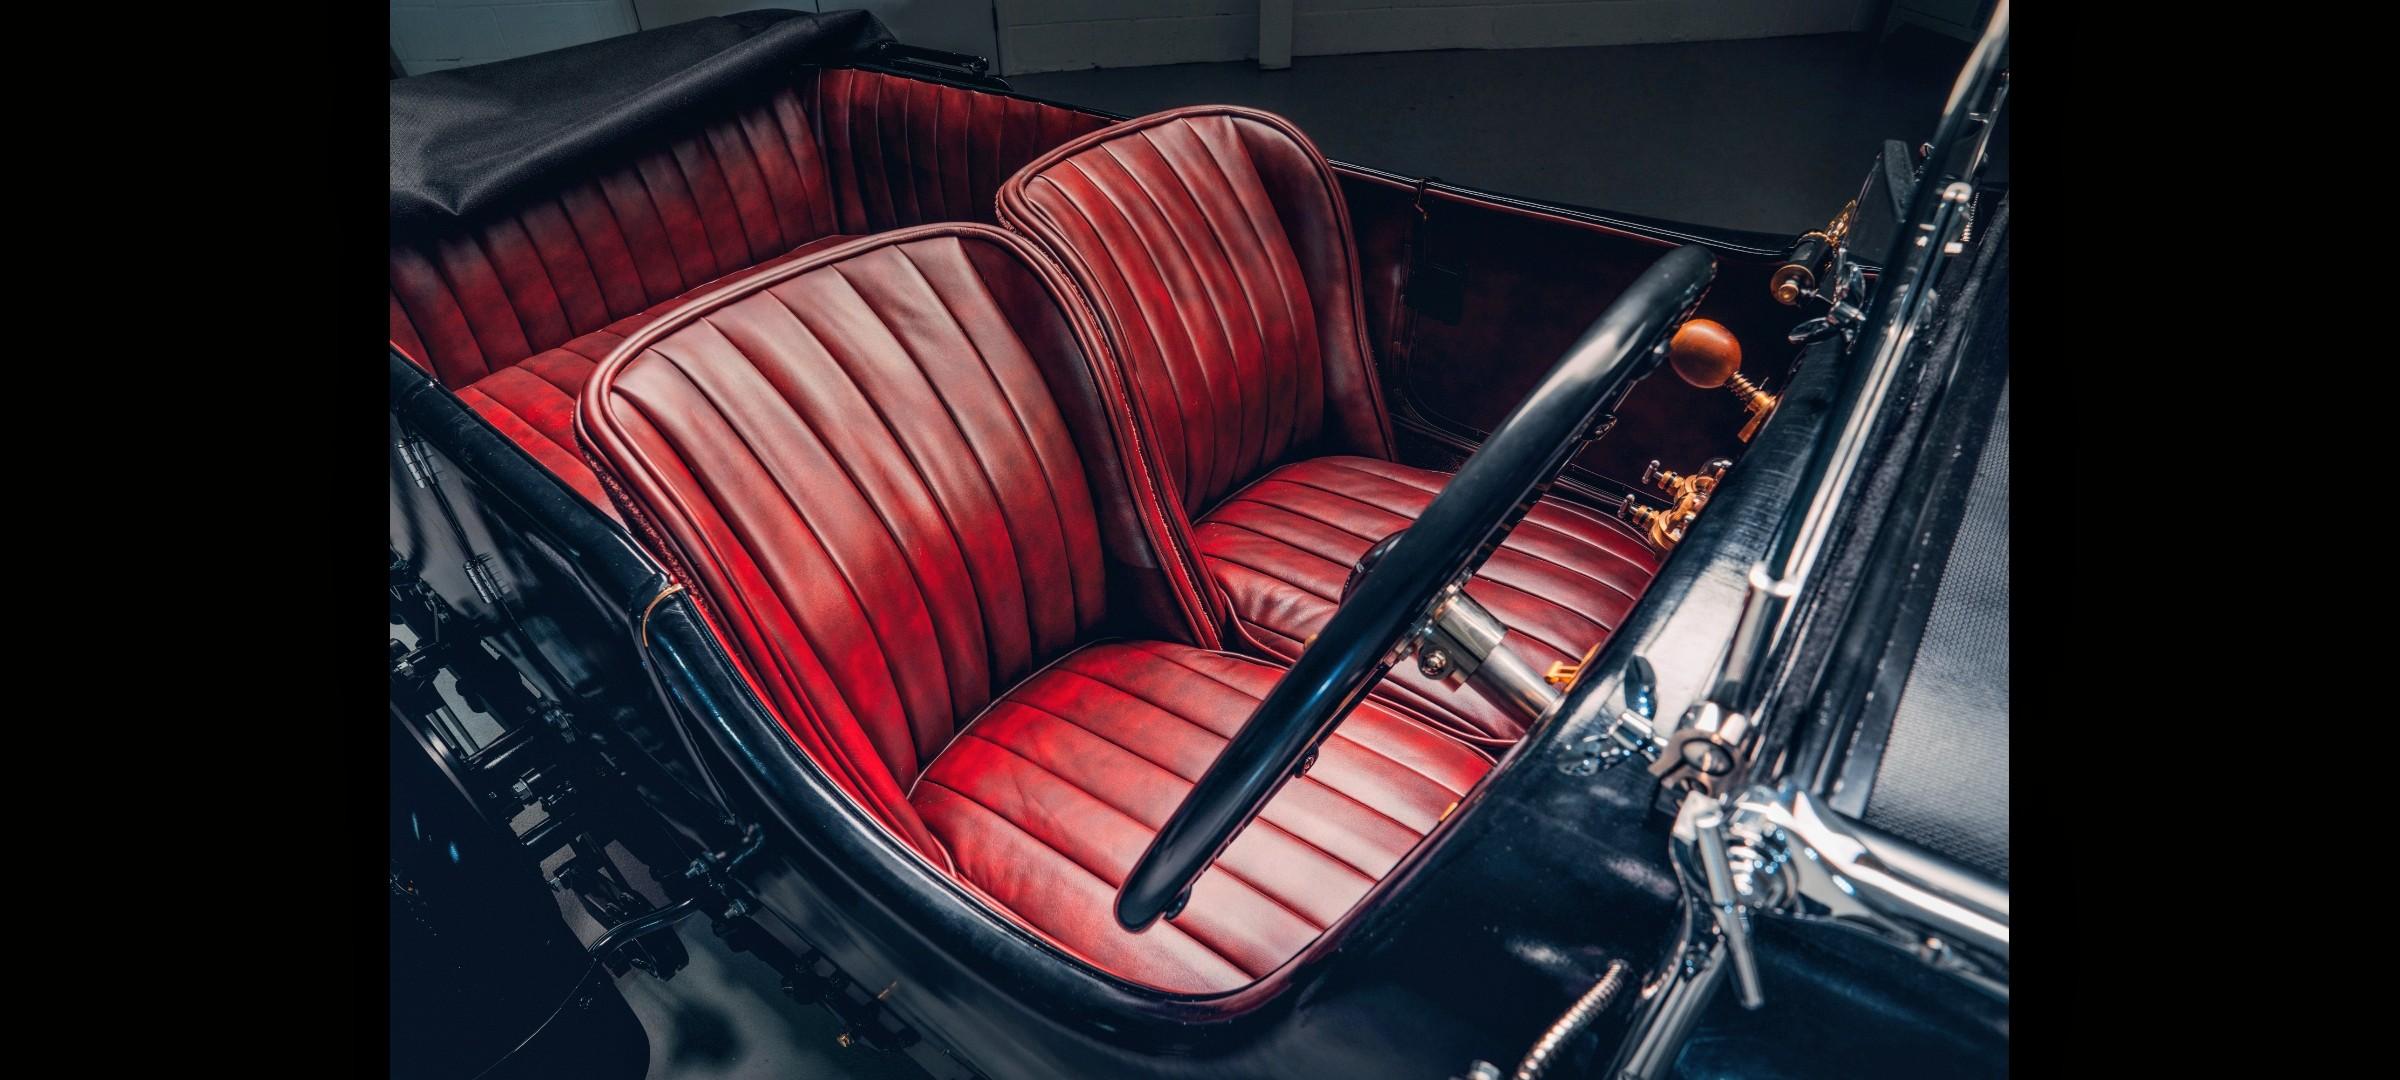
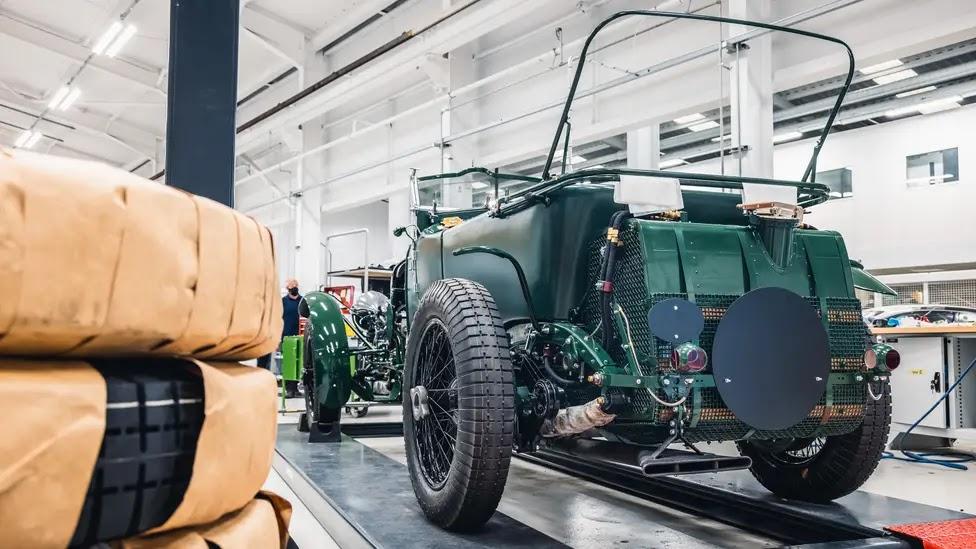
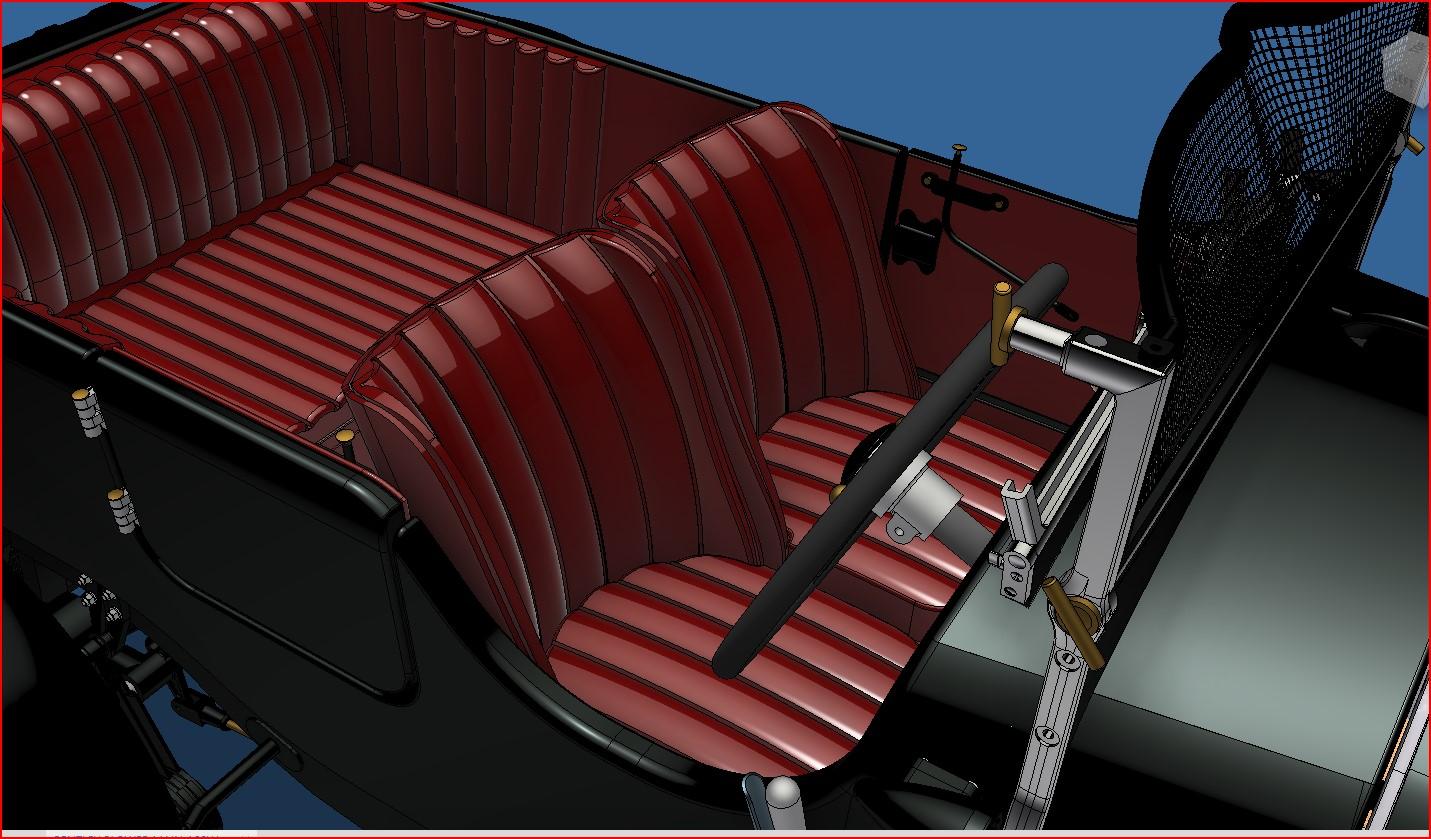
1930 Bentley Blower by Aifix 1/12 build log

I started the front seats. The kit's seats, aside from being different from the ones on the the car, are too big so they don't fit. The kit's body was moulded with thin walls compared to the real body so airfix made the seats to fill the space, ense they don't fit in mine. So I designed and printed new seats that I will cover in leather. I printed them with an upholstered pattern more like that of the ref car. I also designed and printed the seat rails so the seats can be adjusted. My only problem is that, althought I took in account the thickness of the leather and made the seats smaller, it seems like I didn't make them small enough. They fit now but once upholstered, they won't. So I'll have the reprint smaller using a scale factor, something like 5% smaller should do. I also printed the rear seat cushion but it too is à bit oversized. Lastly, l installed the top foldable frame. Here are some pictures.

The kit's seats


Kit's seats In my body


The different components of my seat


The seat rail


My seat (right) next to the kit's

(The the cut-out on the front left corner is to clear the shifter, only on the driver side)


And in the car


The real seats

Screenshot_20240507_185025_Photos.jpg.995999ce18666ca5b3217994acd8cea7.jpg


the top frame


real top frame

Bentley-BlowerBuild-SD-TG-085.webp.d5909994d3fa23eff83d1013c56161e4.webp
 
Thanks Jeff!
I upholstered the rear seat complete with a bunch of springs underneath. I have no idea if this is how a 1930's seat would have been made and have used a lot of 'modelers leeway' but it was still fun to do. I also modified the rear seat back cushion by making it thicker, my first try was too thin.


next I upholstered the front passanger seat. I'm very pleased with lower seat, with the ajustement rail and ajustement lever. Not so pleased with the seat's back. It's ok but I think I could do better. I've reprinted thinner back parts and will retry.


20240513_1624032.jpg.91b555c90e1570d6876e6baa5c744980.jpg
 
Francois, you are a modeler extraordinaire. I just finished reviewing the photos of your previous builds, from full scale to miniature you can do it all. Thank you for sharing and demonstrating what one can achieve if they are motivated enough.
 
I added a few more details, the front side markers, both windshields and both doors.

Side marker


Windshield and passanger's side door


driver's side door


now this leaves me with 2 final things to do. The dashboard, which is a project in it's self and that I will do last. And the soft top. Which I will do next. As the name implies, the soft top is soft, so made out of a fabric. To be able to conform to the top frame, It will be made of several pieces clued together. I did a first test with a center piece going from front to back and quickly realised that I wont be able to figure out the shapes of the different pieces directly on the model because it will involve too many manipulations and trials and this portion of the model is too fragile. So I took the 3d model of the soft top I did, scaled it to 98% to compensate for the material thickness and 3d printed it. This gives me a "form" on which I can try as many different shapes as I want without fear of breaking anything.

Here is the test I did


And here is the printed top that will serve as a form

 
Back
Top